INSOON 20117 review: a coffee house building with 1589 quality bricks and prints inspired by the Central Perk for an excellent price/brick price.
Once again, I found a set on Amazon.de that I had never seen before on any other Chinese store, including Aliexpress. It is sold by a reseller called INSOON.
I ordered the set for around 43€ to check it out for you. Depending on the current coupon, the price could be lower or higher.
INSOON 20117 Review
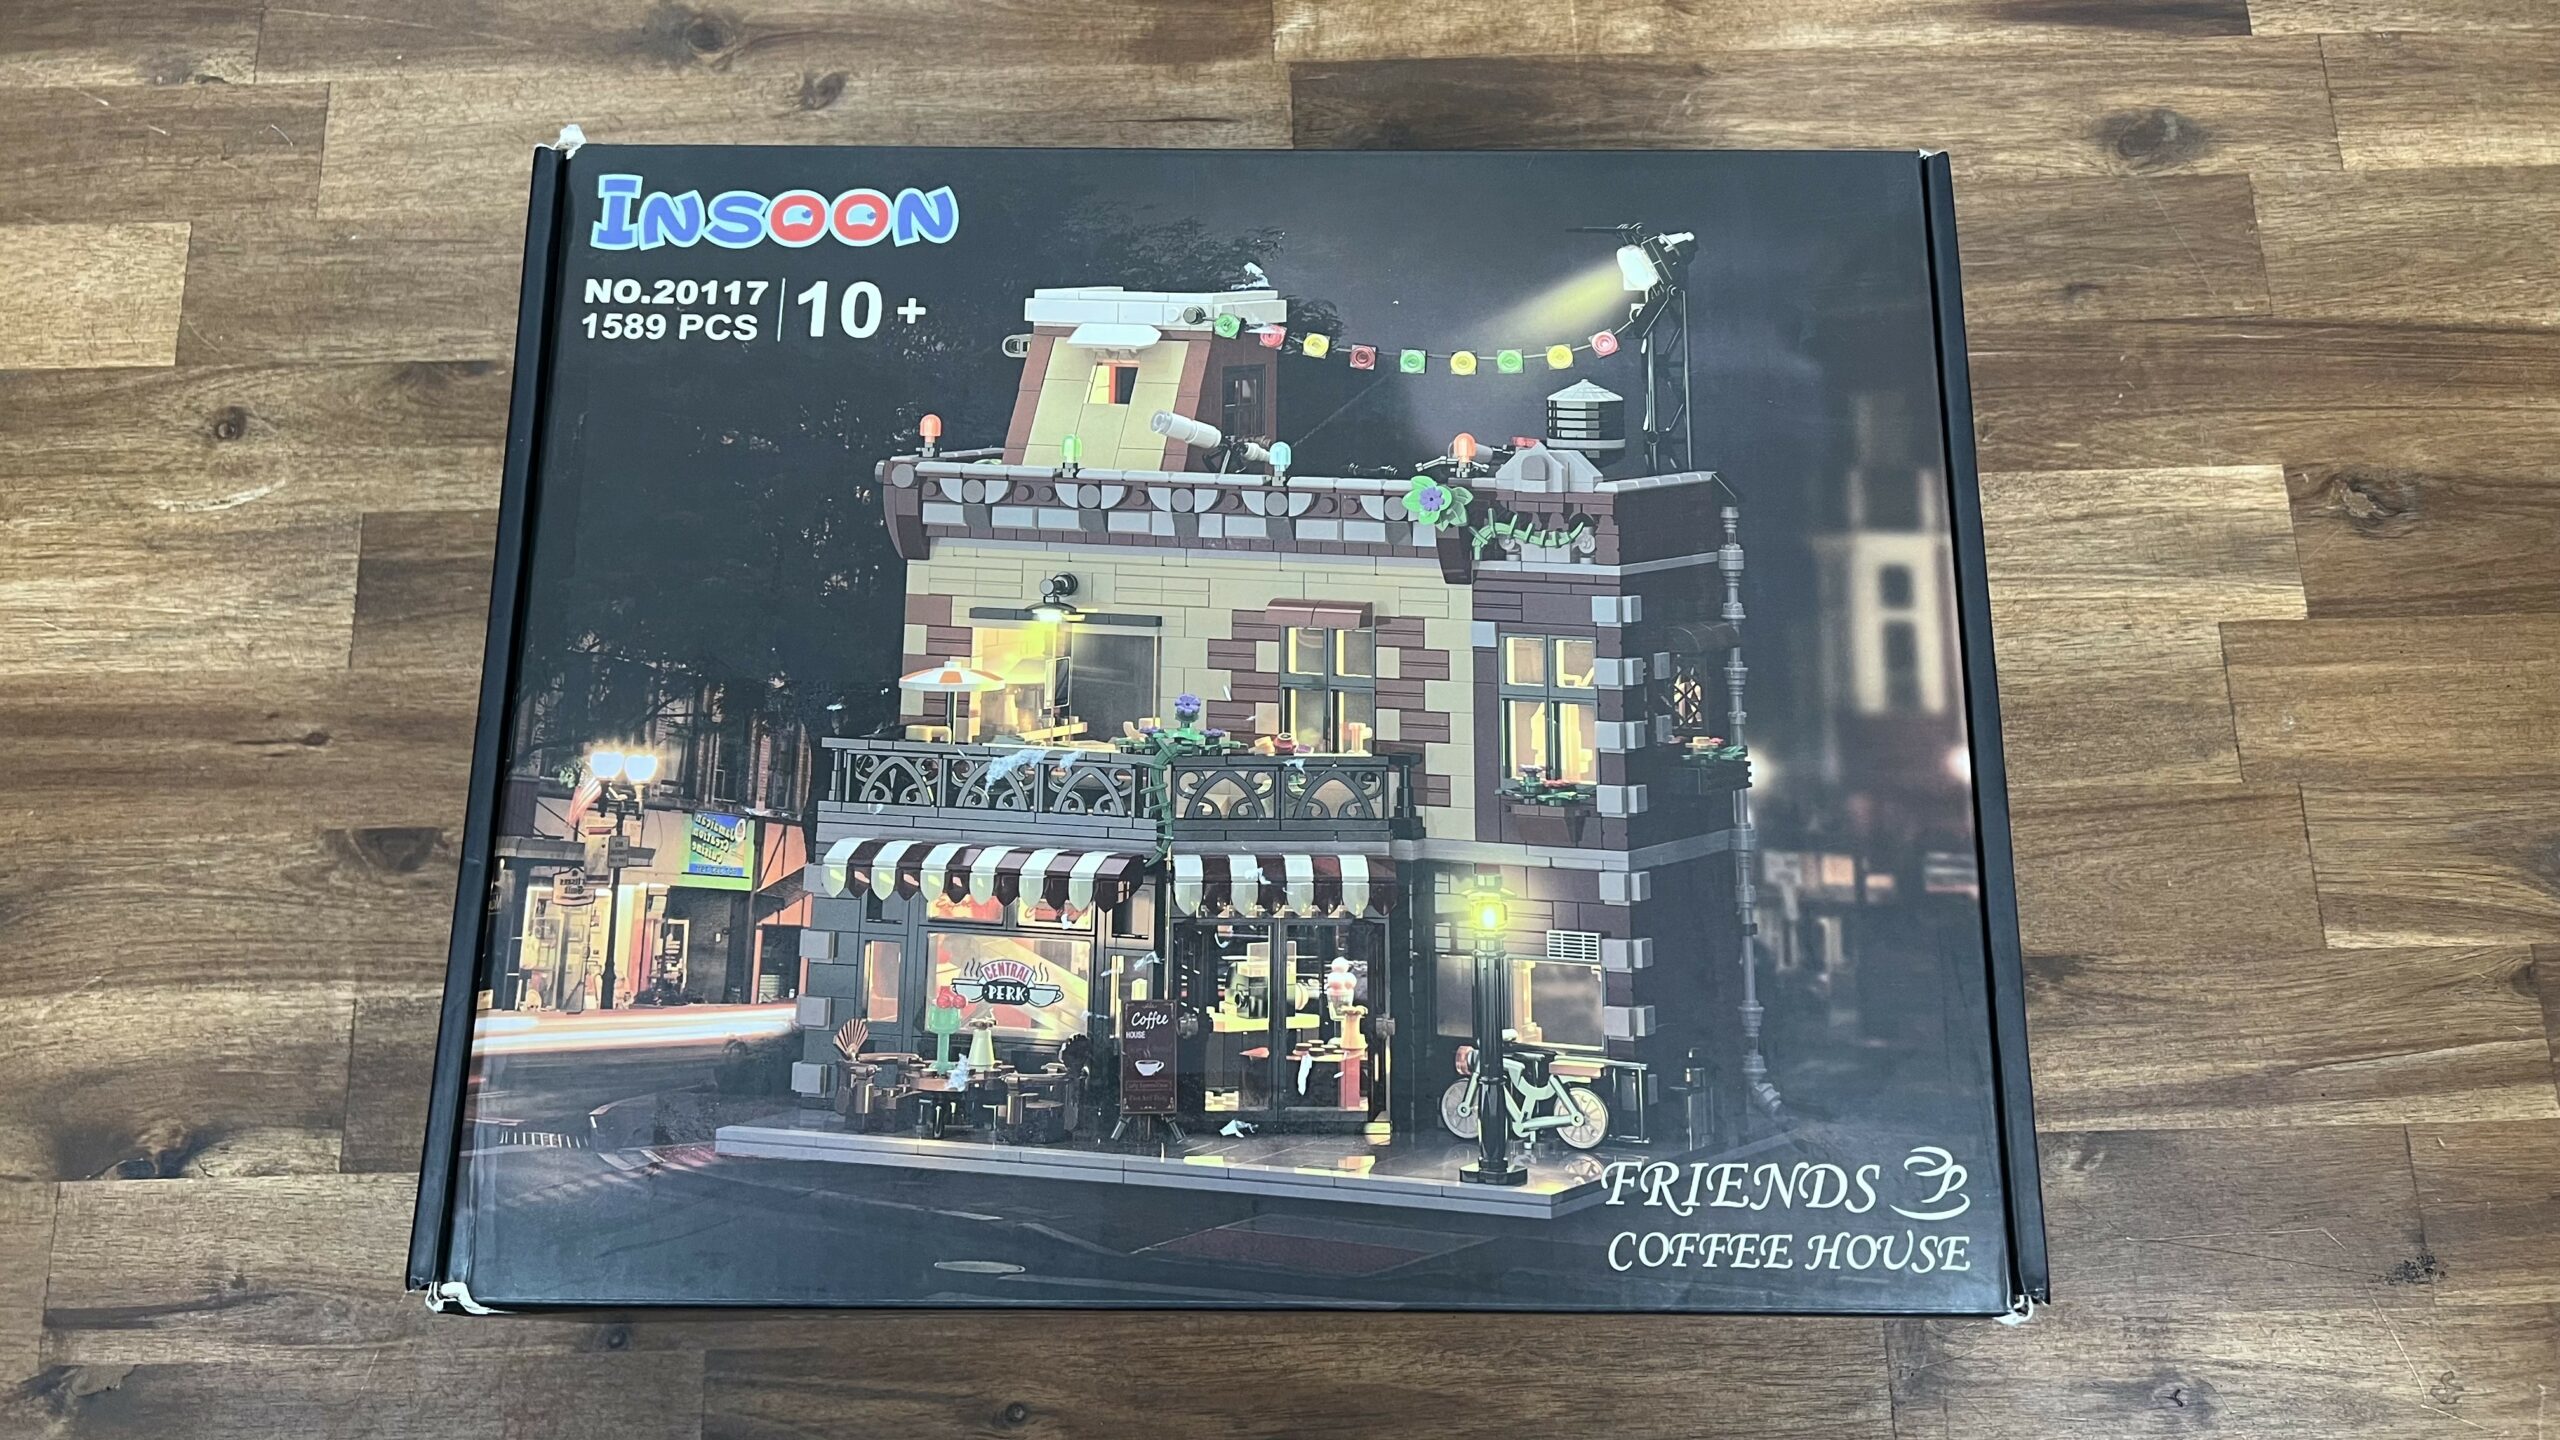
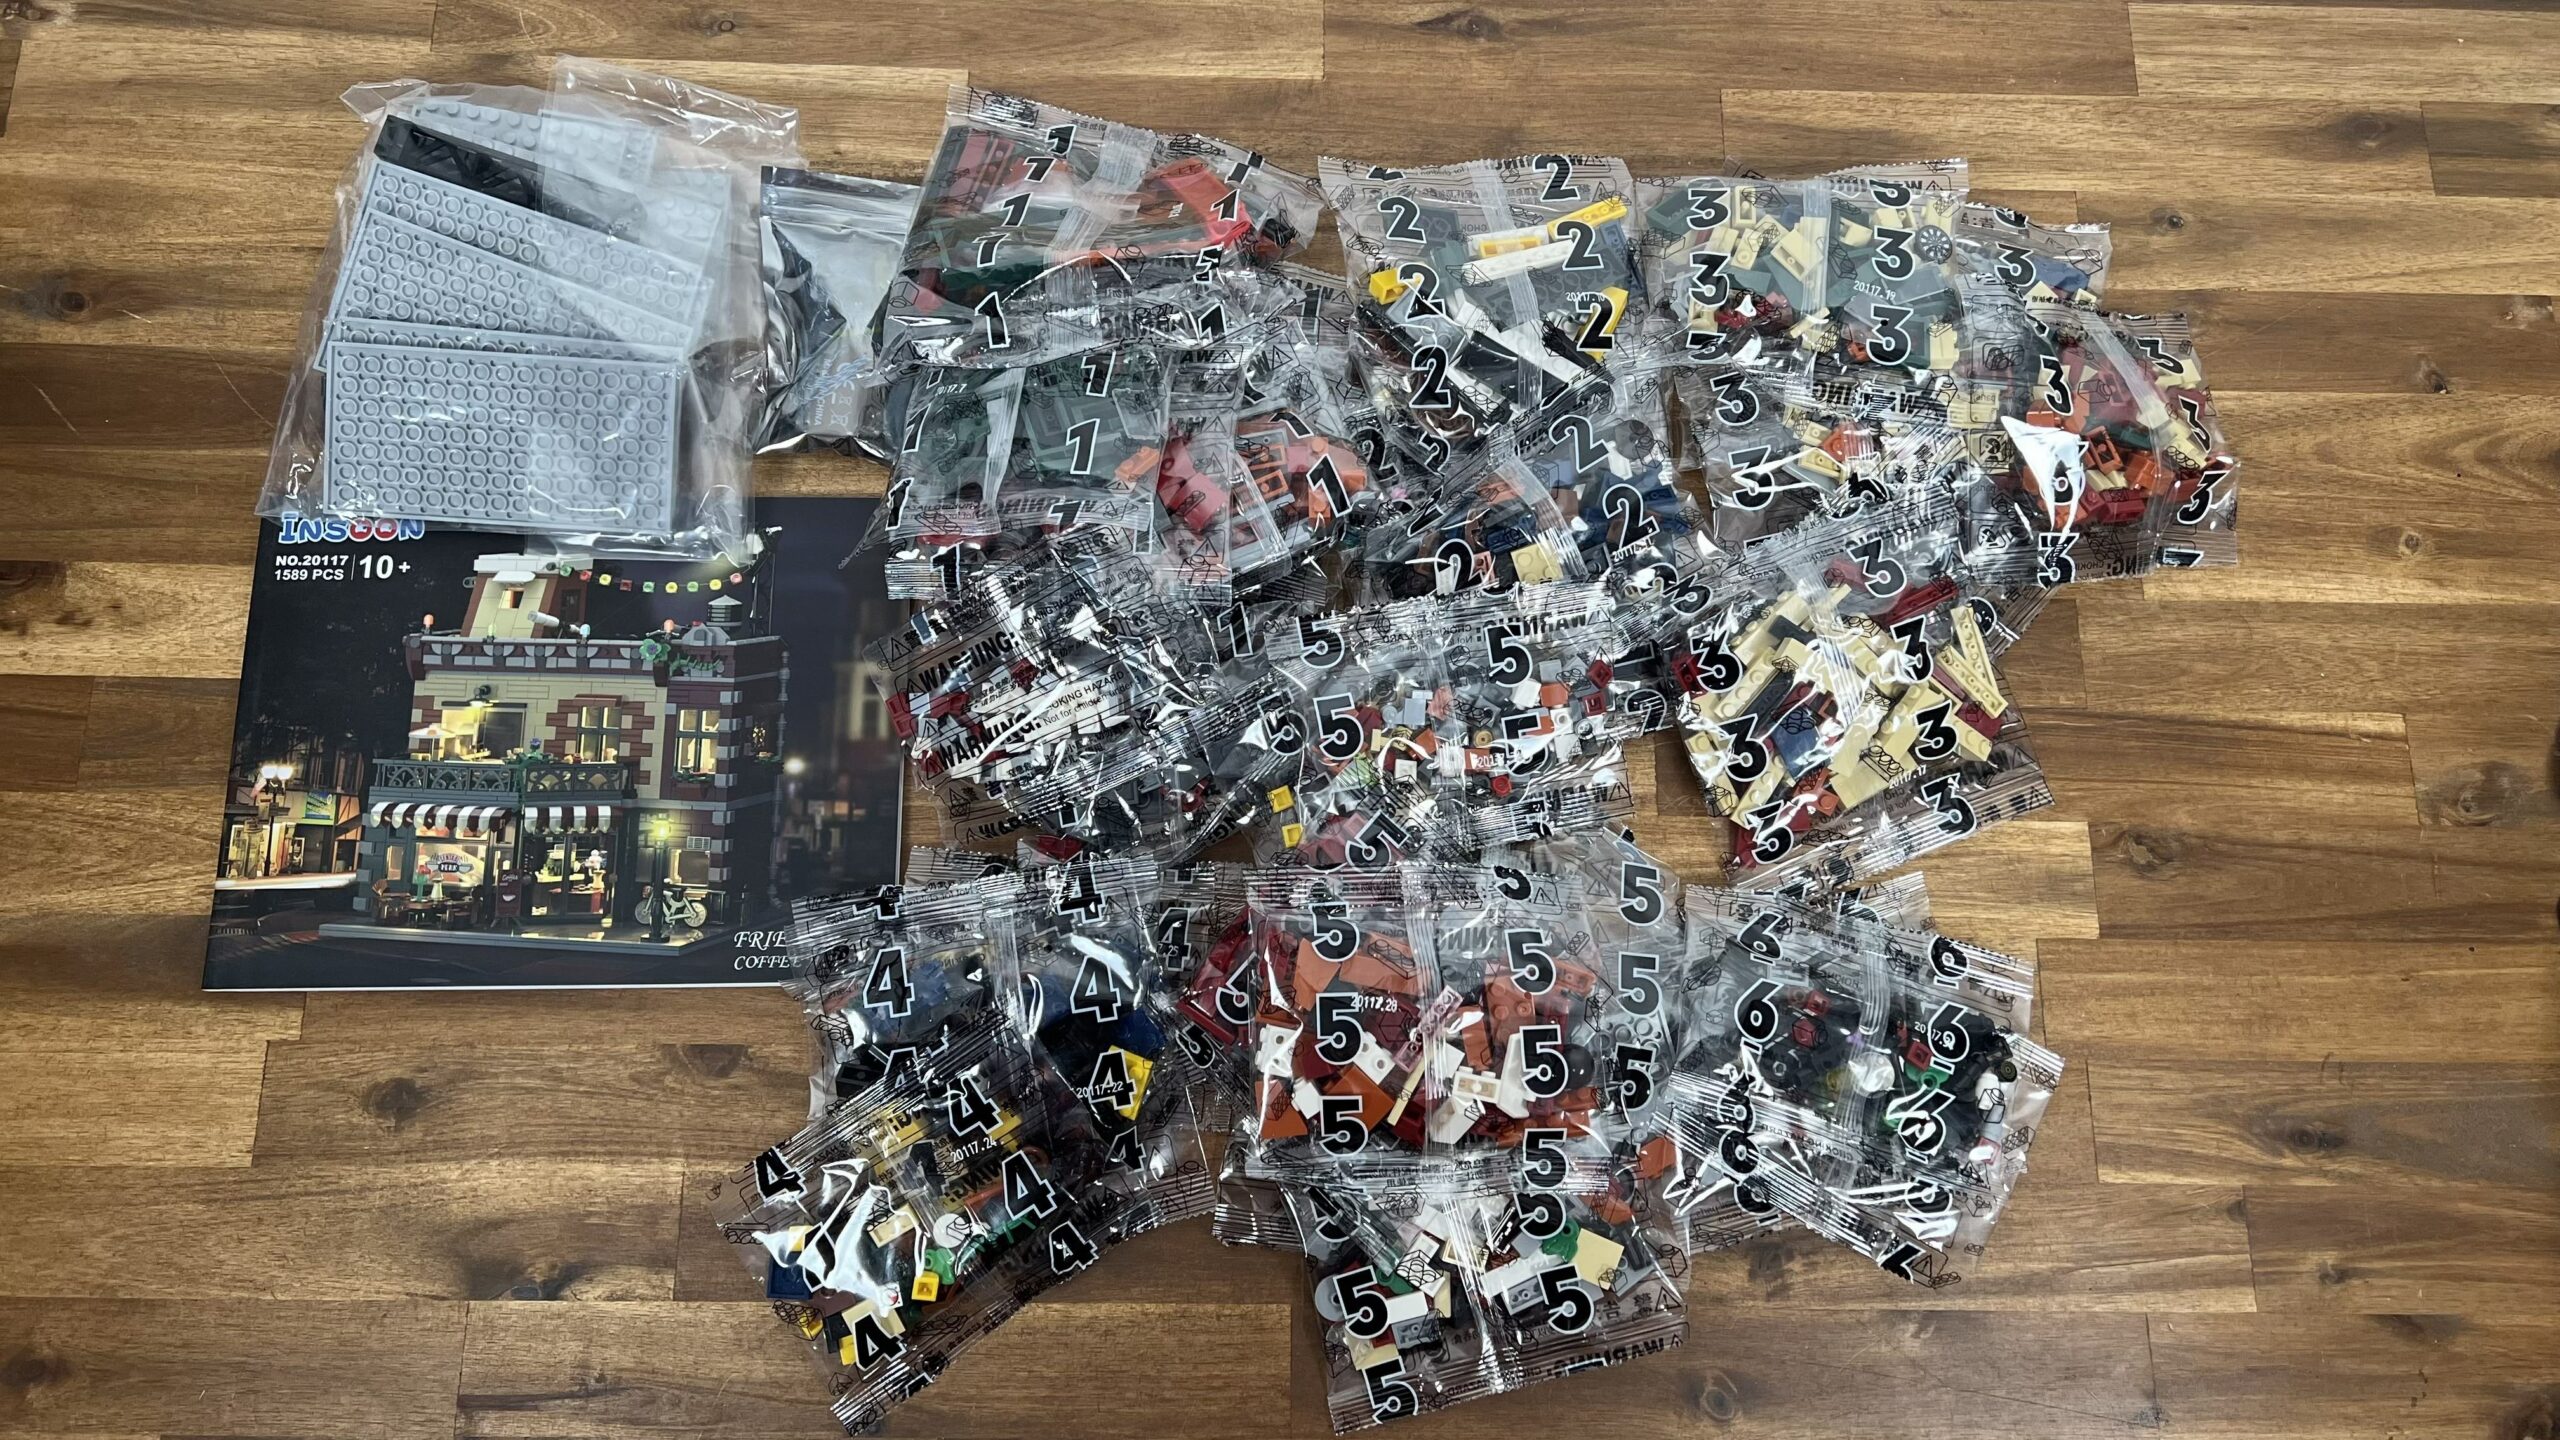
The delivery from Amazon.de took one day and came in beautiful, double-sided illustrated packaging. It was stuffed with numbered plastic bags and dedicated bags for the LED kit and the bigger plates, which was nice to see.
Besides these, it includes good-sized assembly instructions.
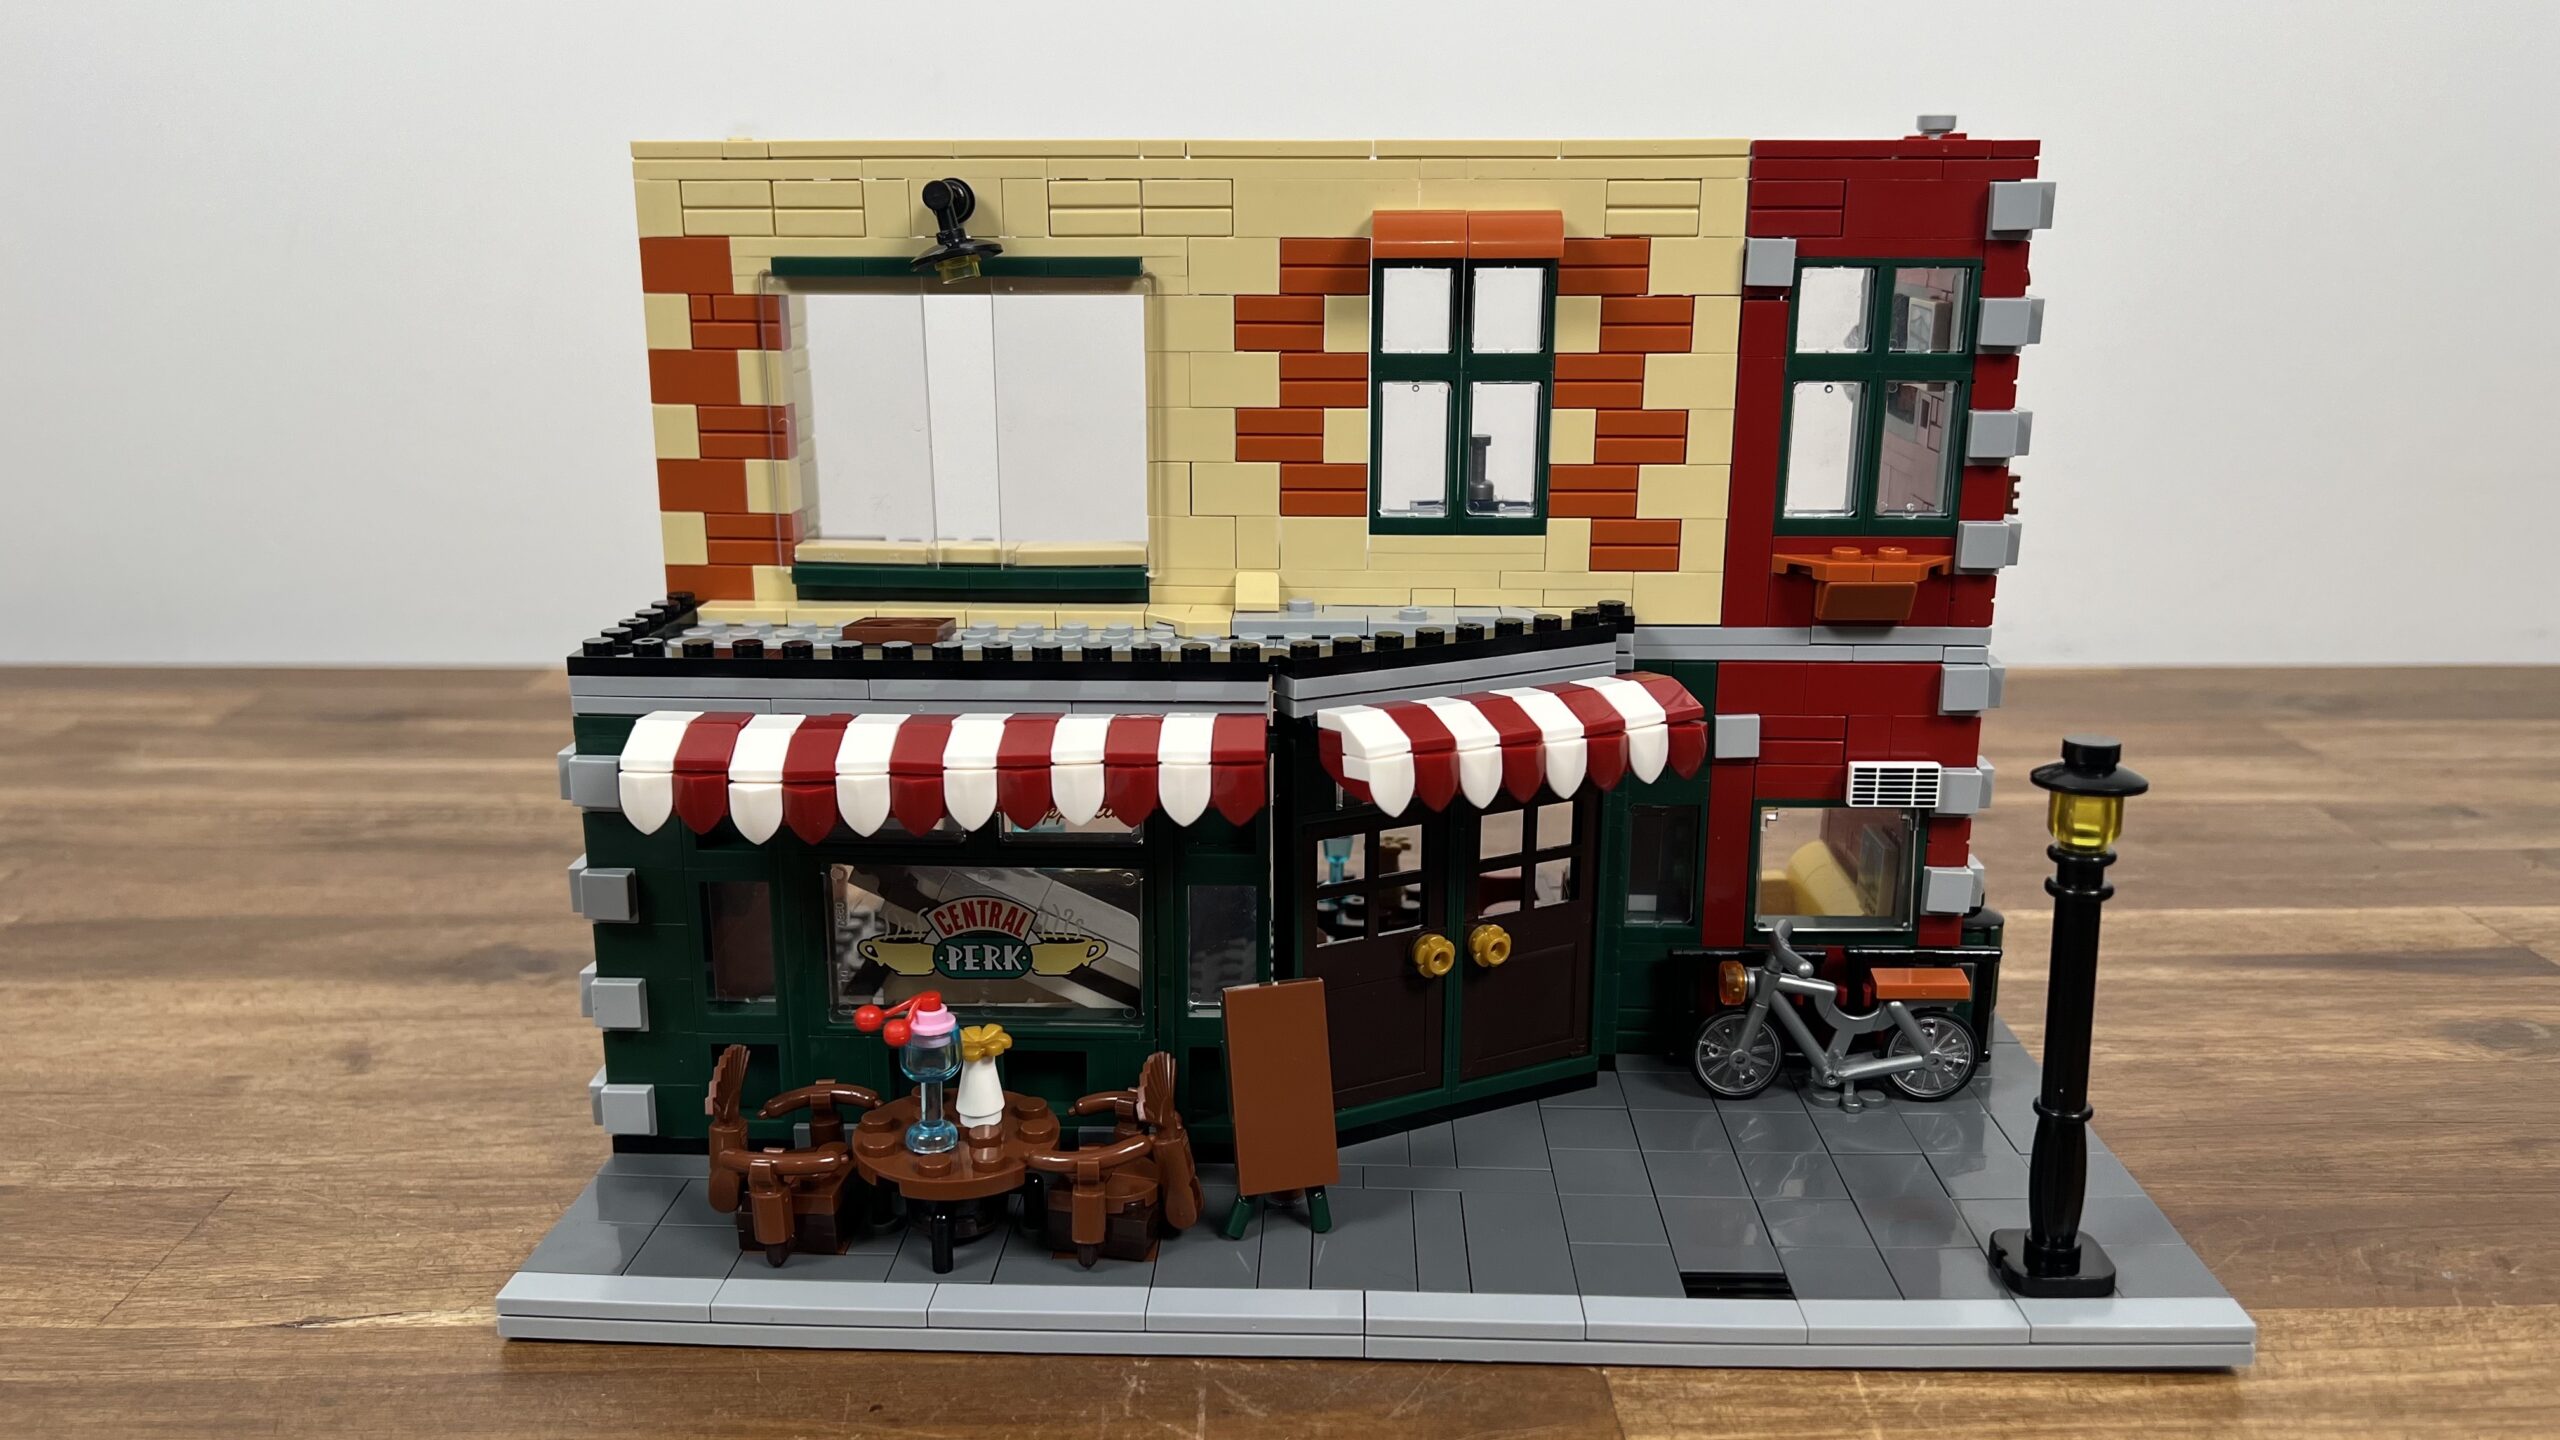
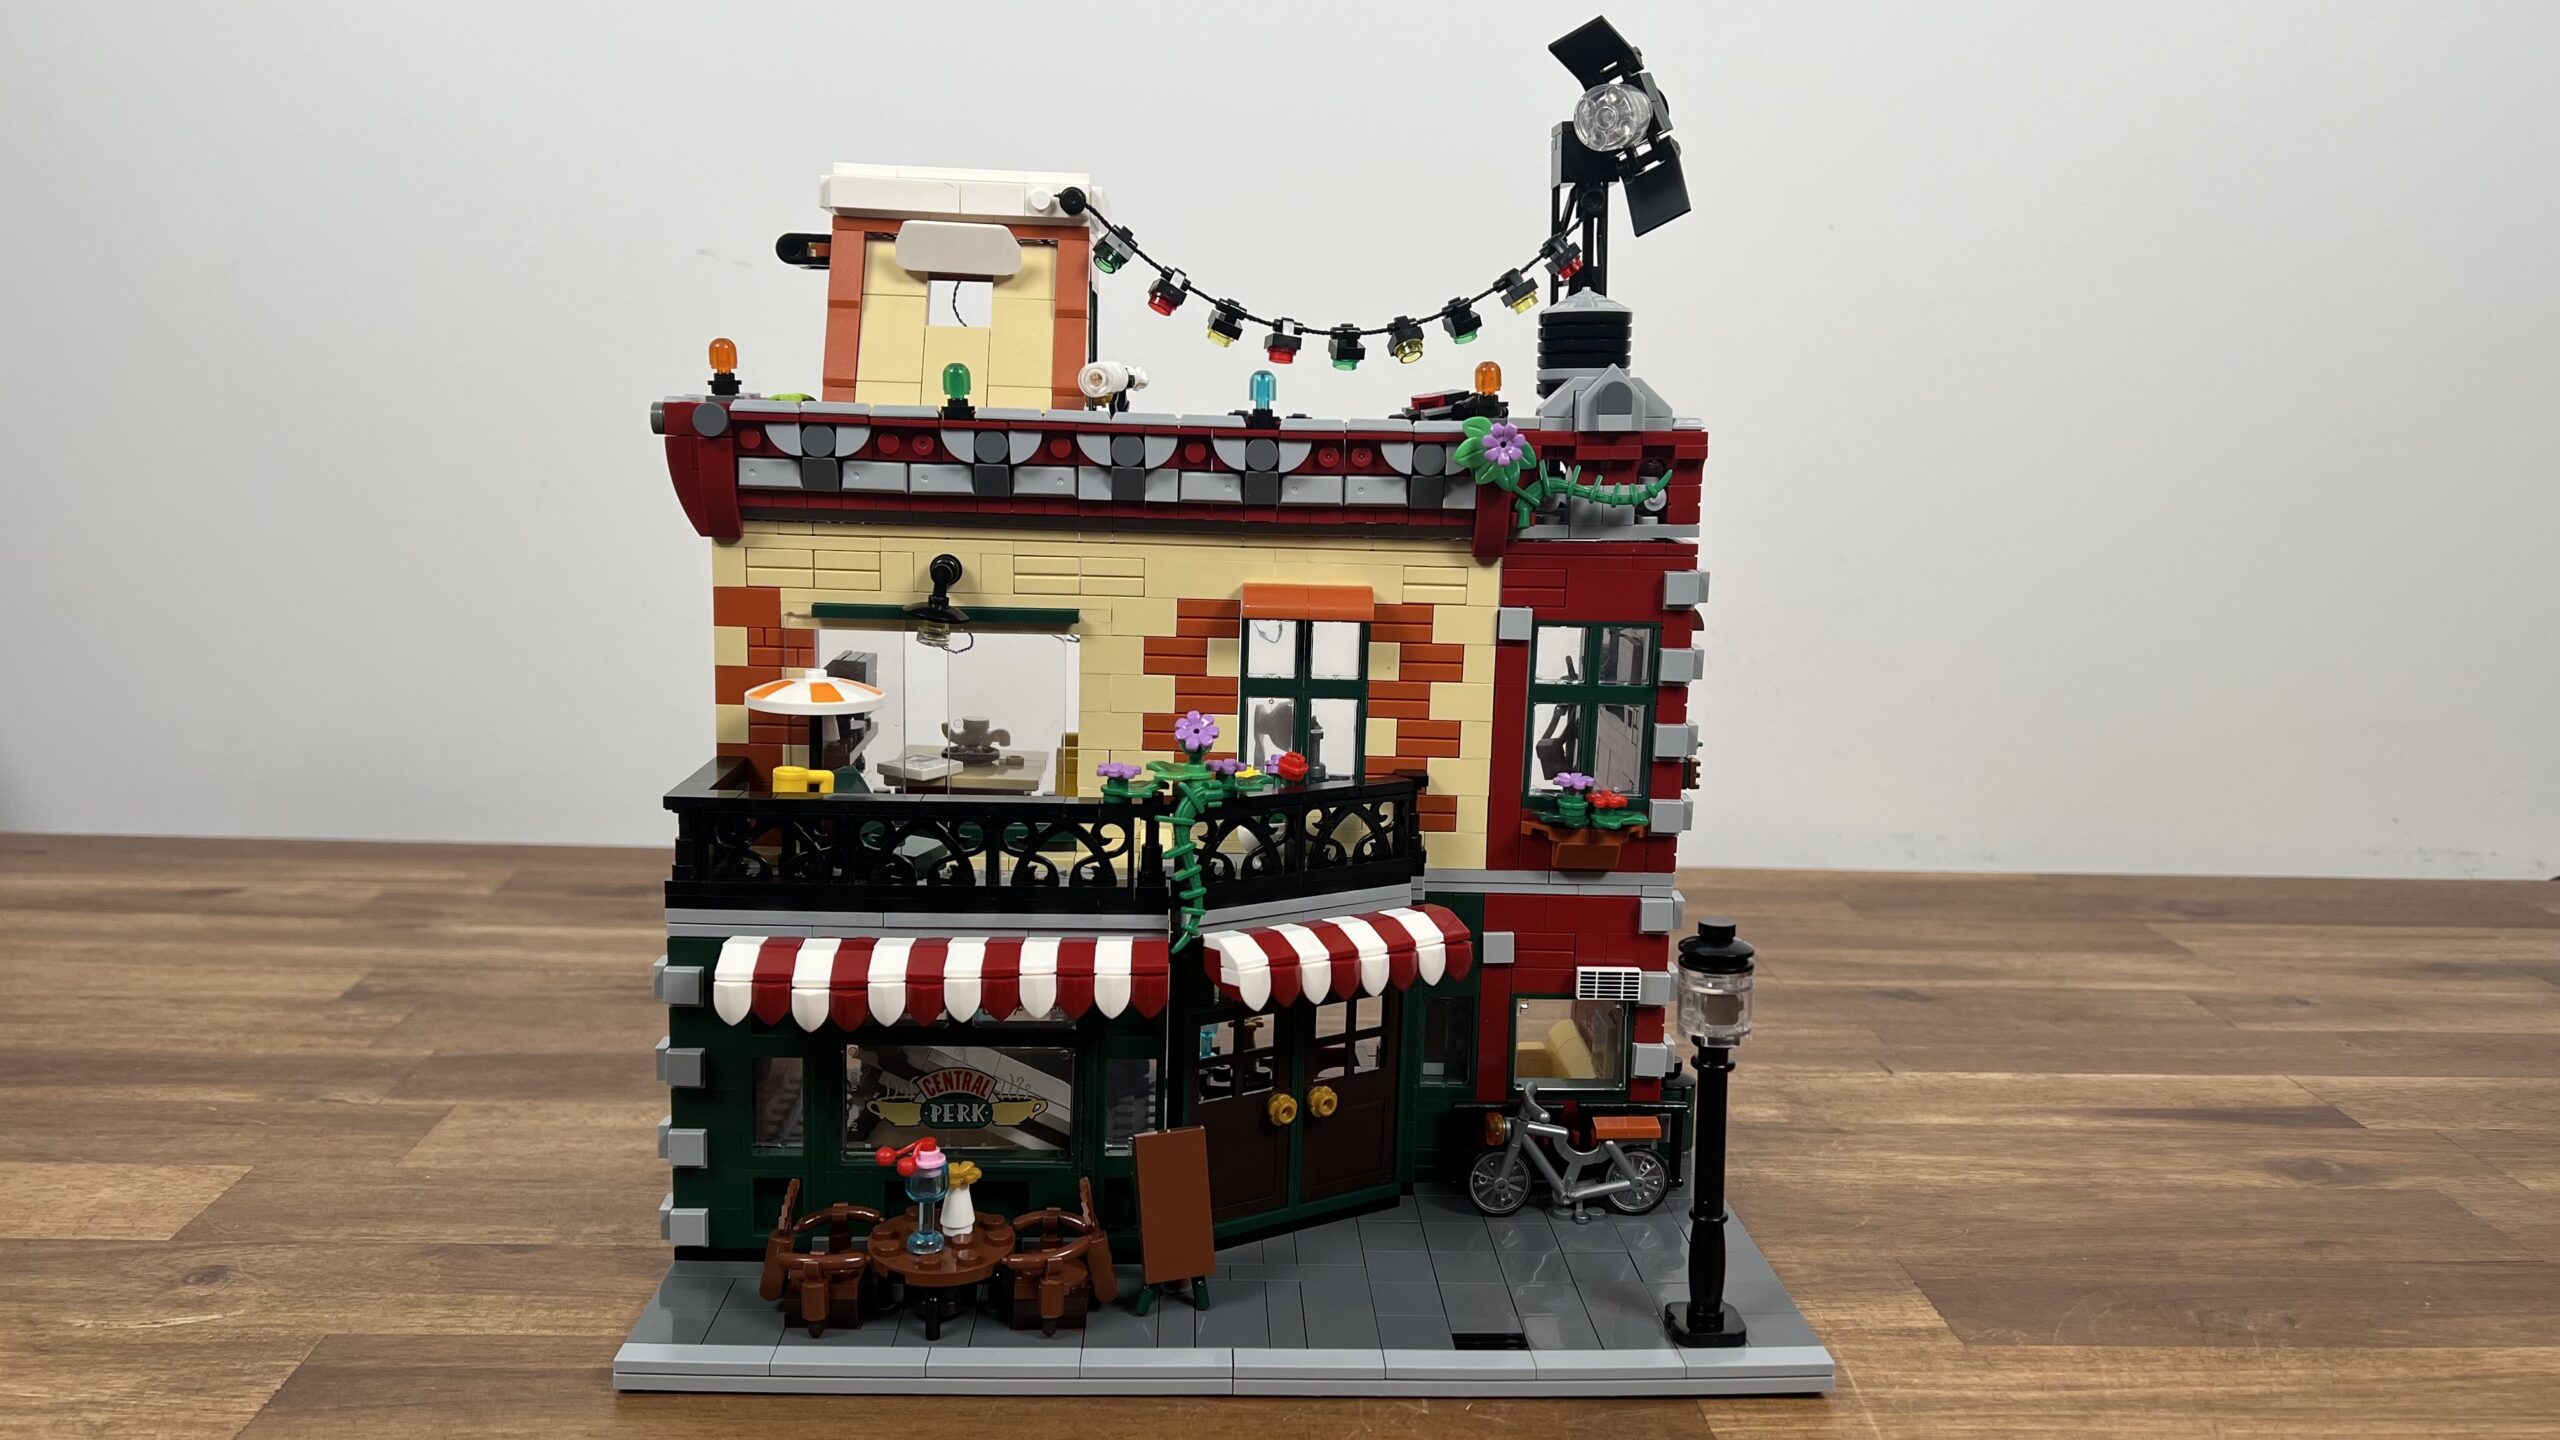
The INSOON 20117 is a coffee house modular-style building made from 1589 pieces. The Central Perk inspiration for this medium-sized building set is clearly noticeable.
I searched on Rebrickable but I didn’t find any one-to-one MOC for this set, so I’m assuming it’s not a stolen design. The developer of the set, however, wasn’t INSOON. They are just a repackaging company for the set.
The set was designed by Xingbao and its sub-brand MORK (XMORK), one of the biggest Chinese brick companies. The packaging bears the name “Moke Building Toy Factory,” which refers to MORK.
Also, the number 20117 matches the current mid-sized series from MORK. For example, the 20118 is the City Office Modular, which has a very similar design from the inside.
Key Features
| Seller | INSOON |
| Designer | Xingbao + Mork |
| Bricks | Xingbao + Mork |
| Product name | Coffe House Central Perk |
| Age | 10+ |
| Set dimensions | 5 x 3 x 8 cm? |
| Product serial number | 20117 |
| Pieces | 1589 |
| Stickers | Yes |
| Pad Prints | Yes |
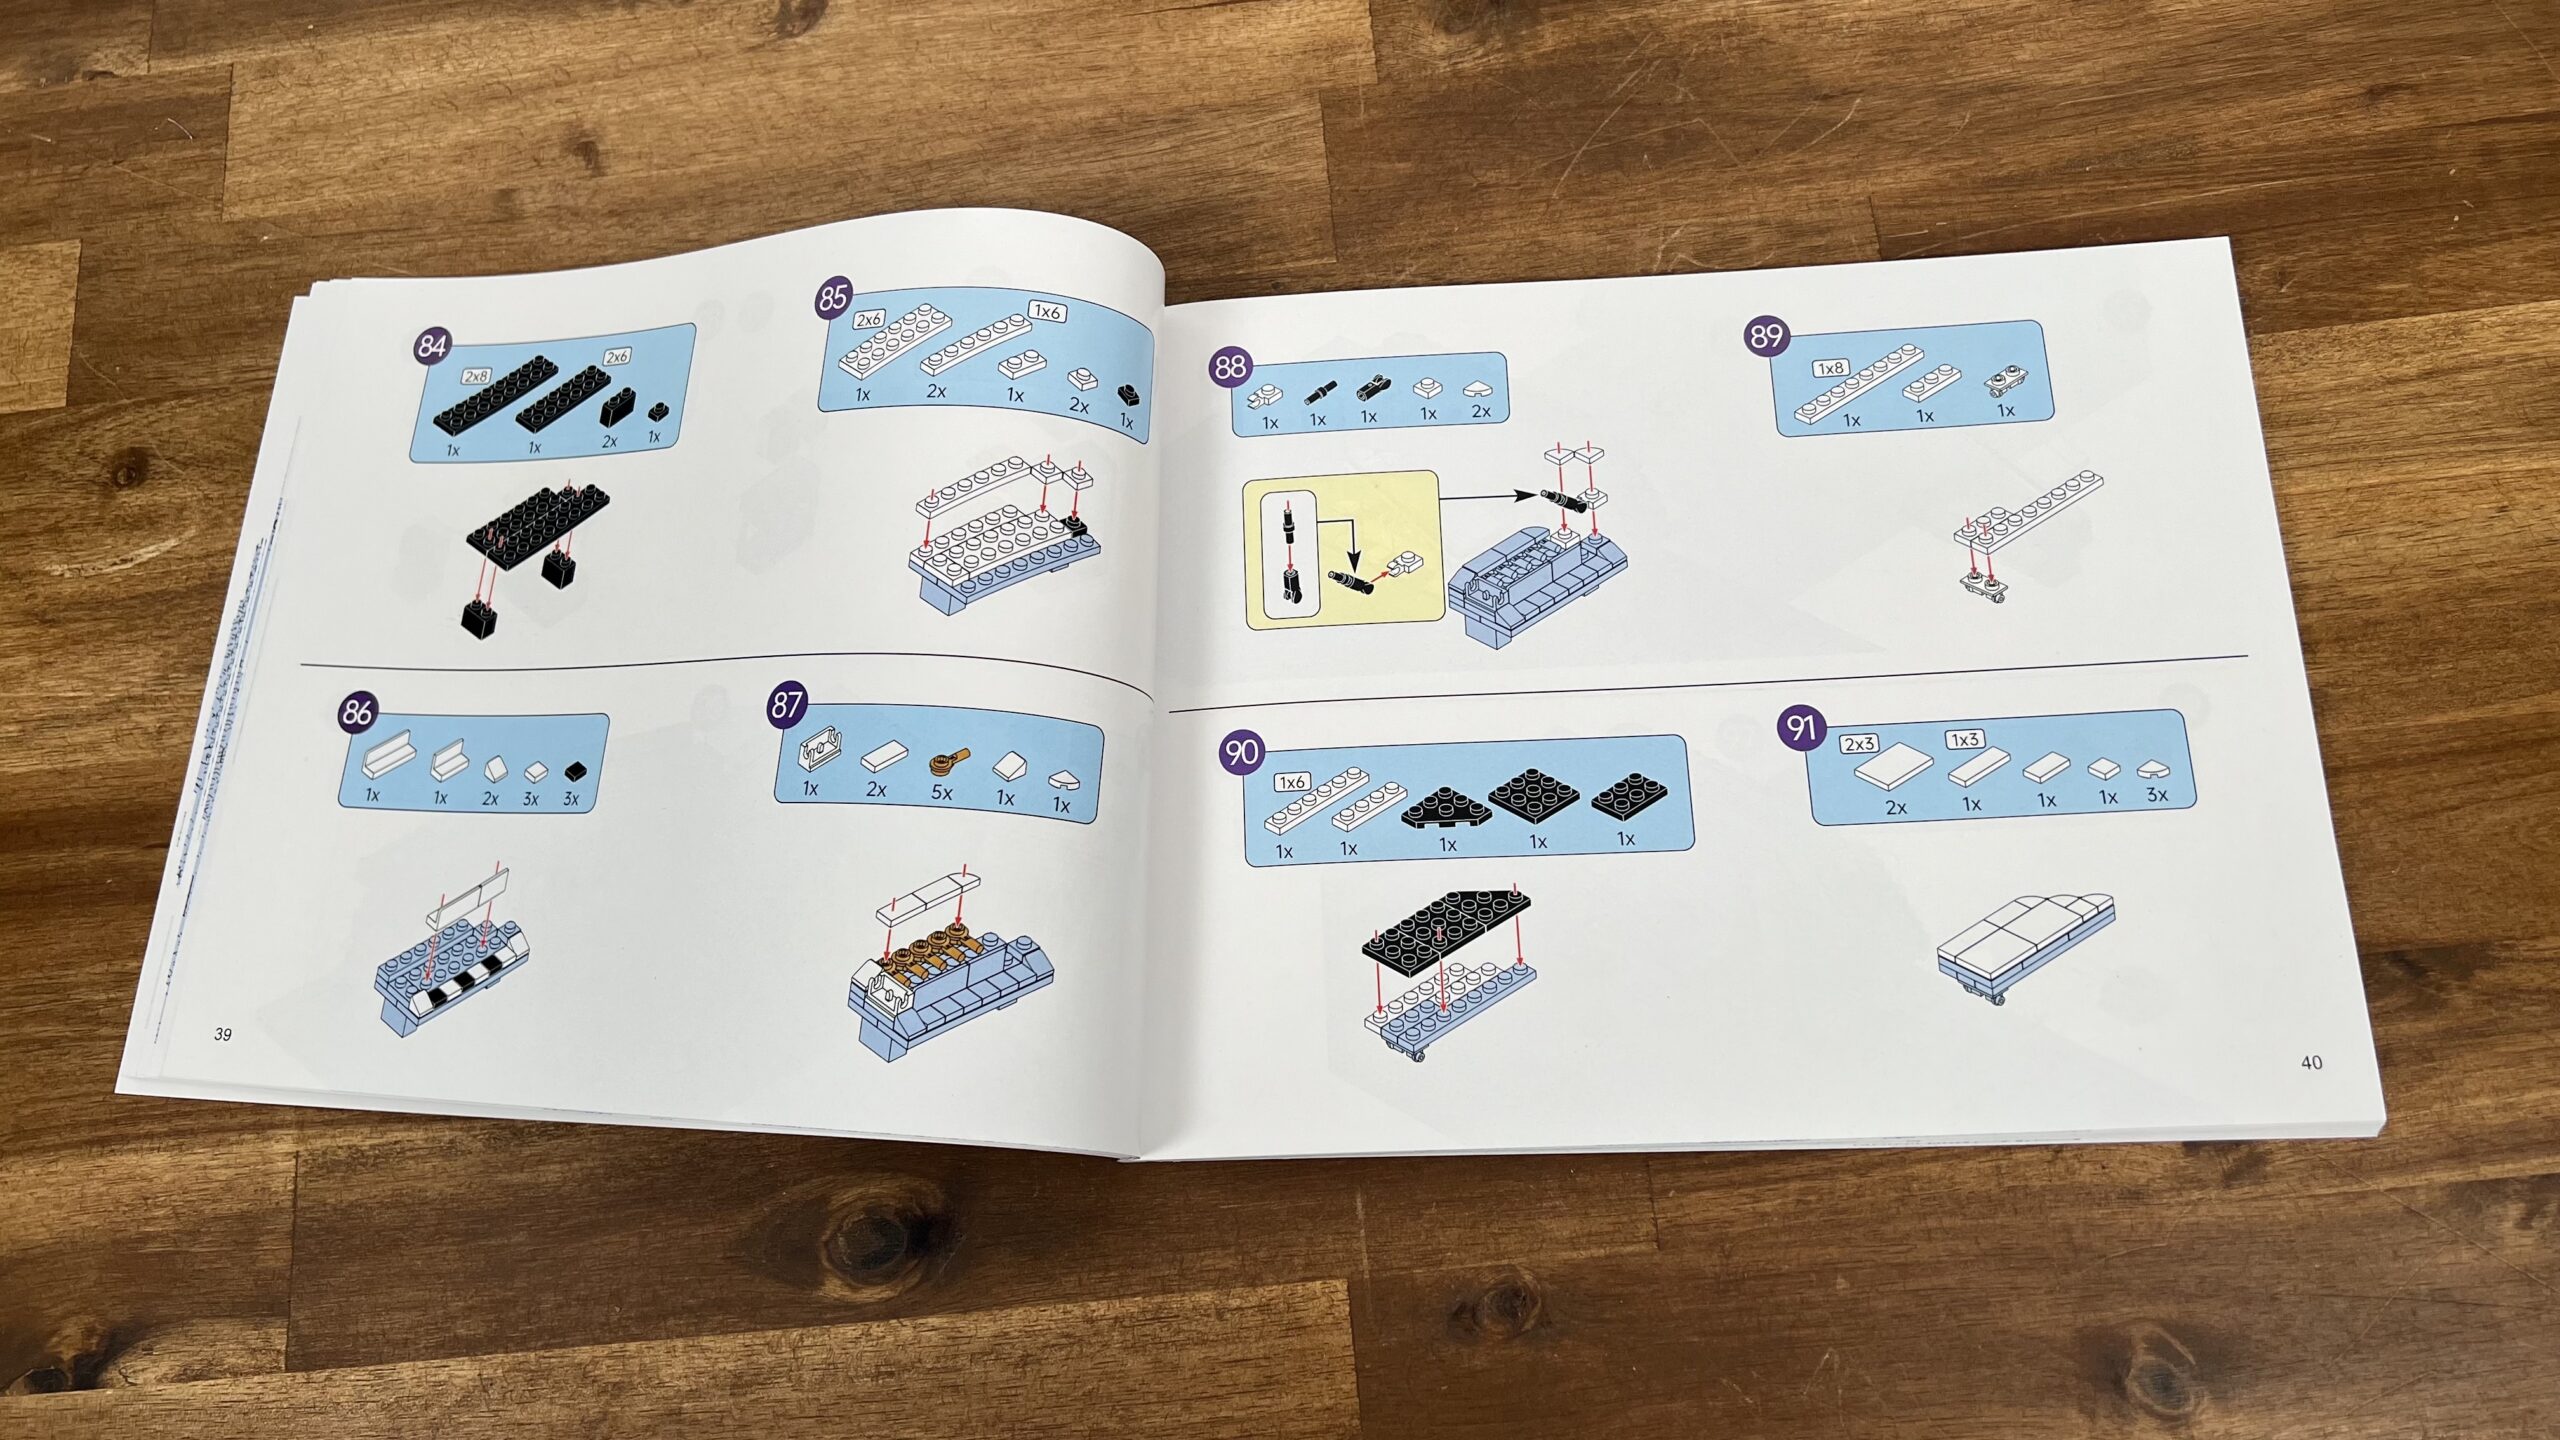
A quick look at the assembly instructions. They are clear and good-sized, have 142 pages, and have 318 construction steps. 311 are for the building, and seven more for the LED kit.
The print quality is solid, and everything can be read. Everything already being built is in grey, and the actual step is in color. It also includes a few stickers, which, as always, I tend to ignore. Let’s brick!
Building Step 1
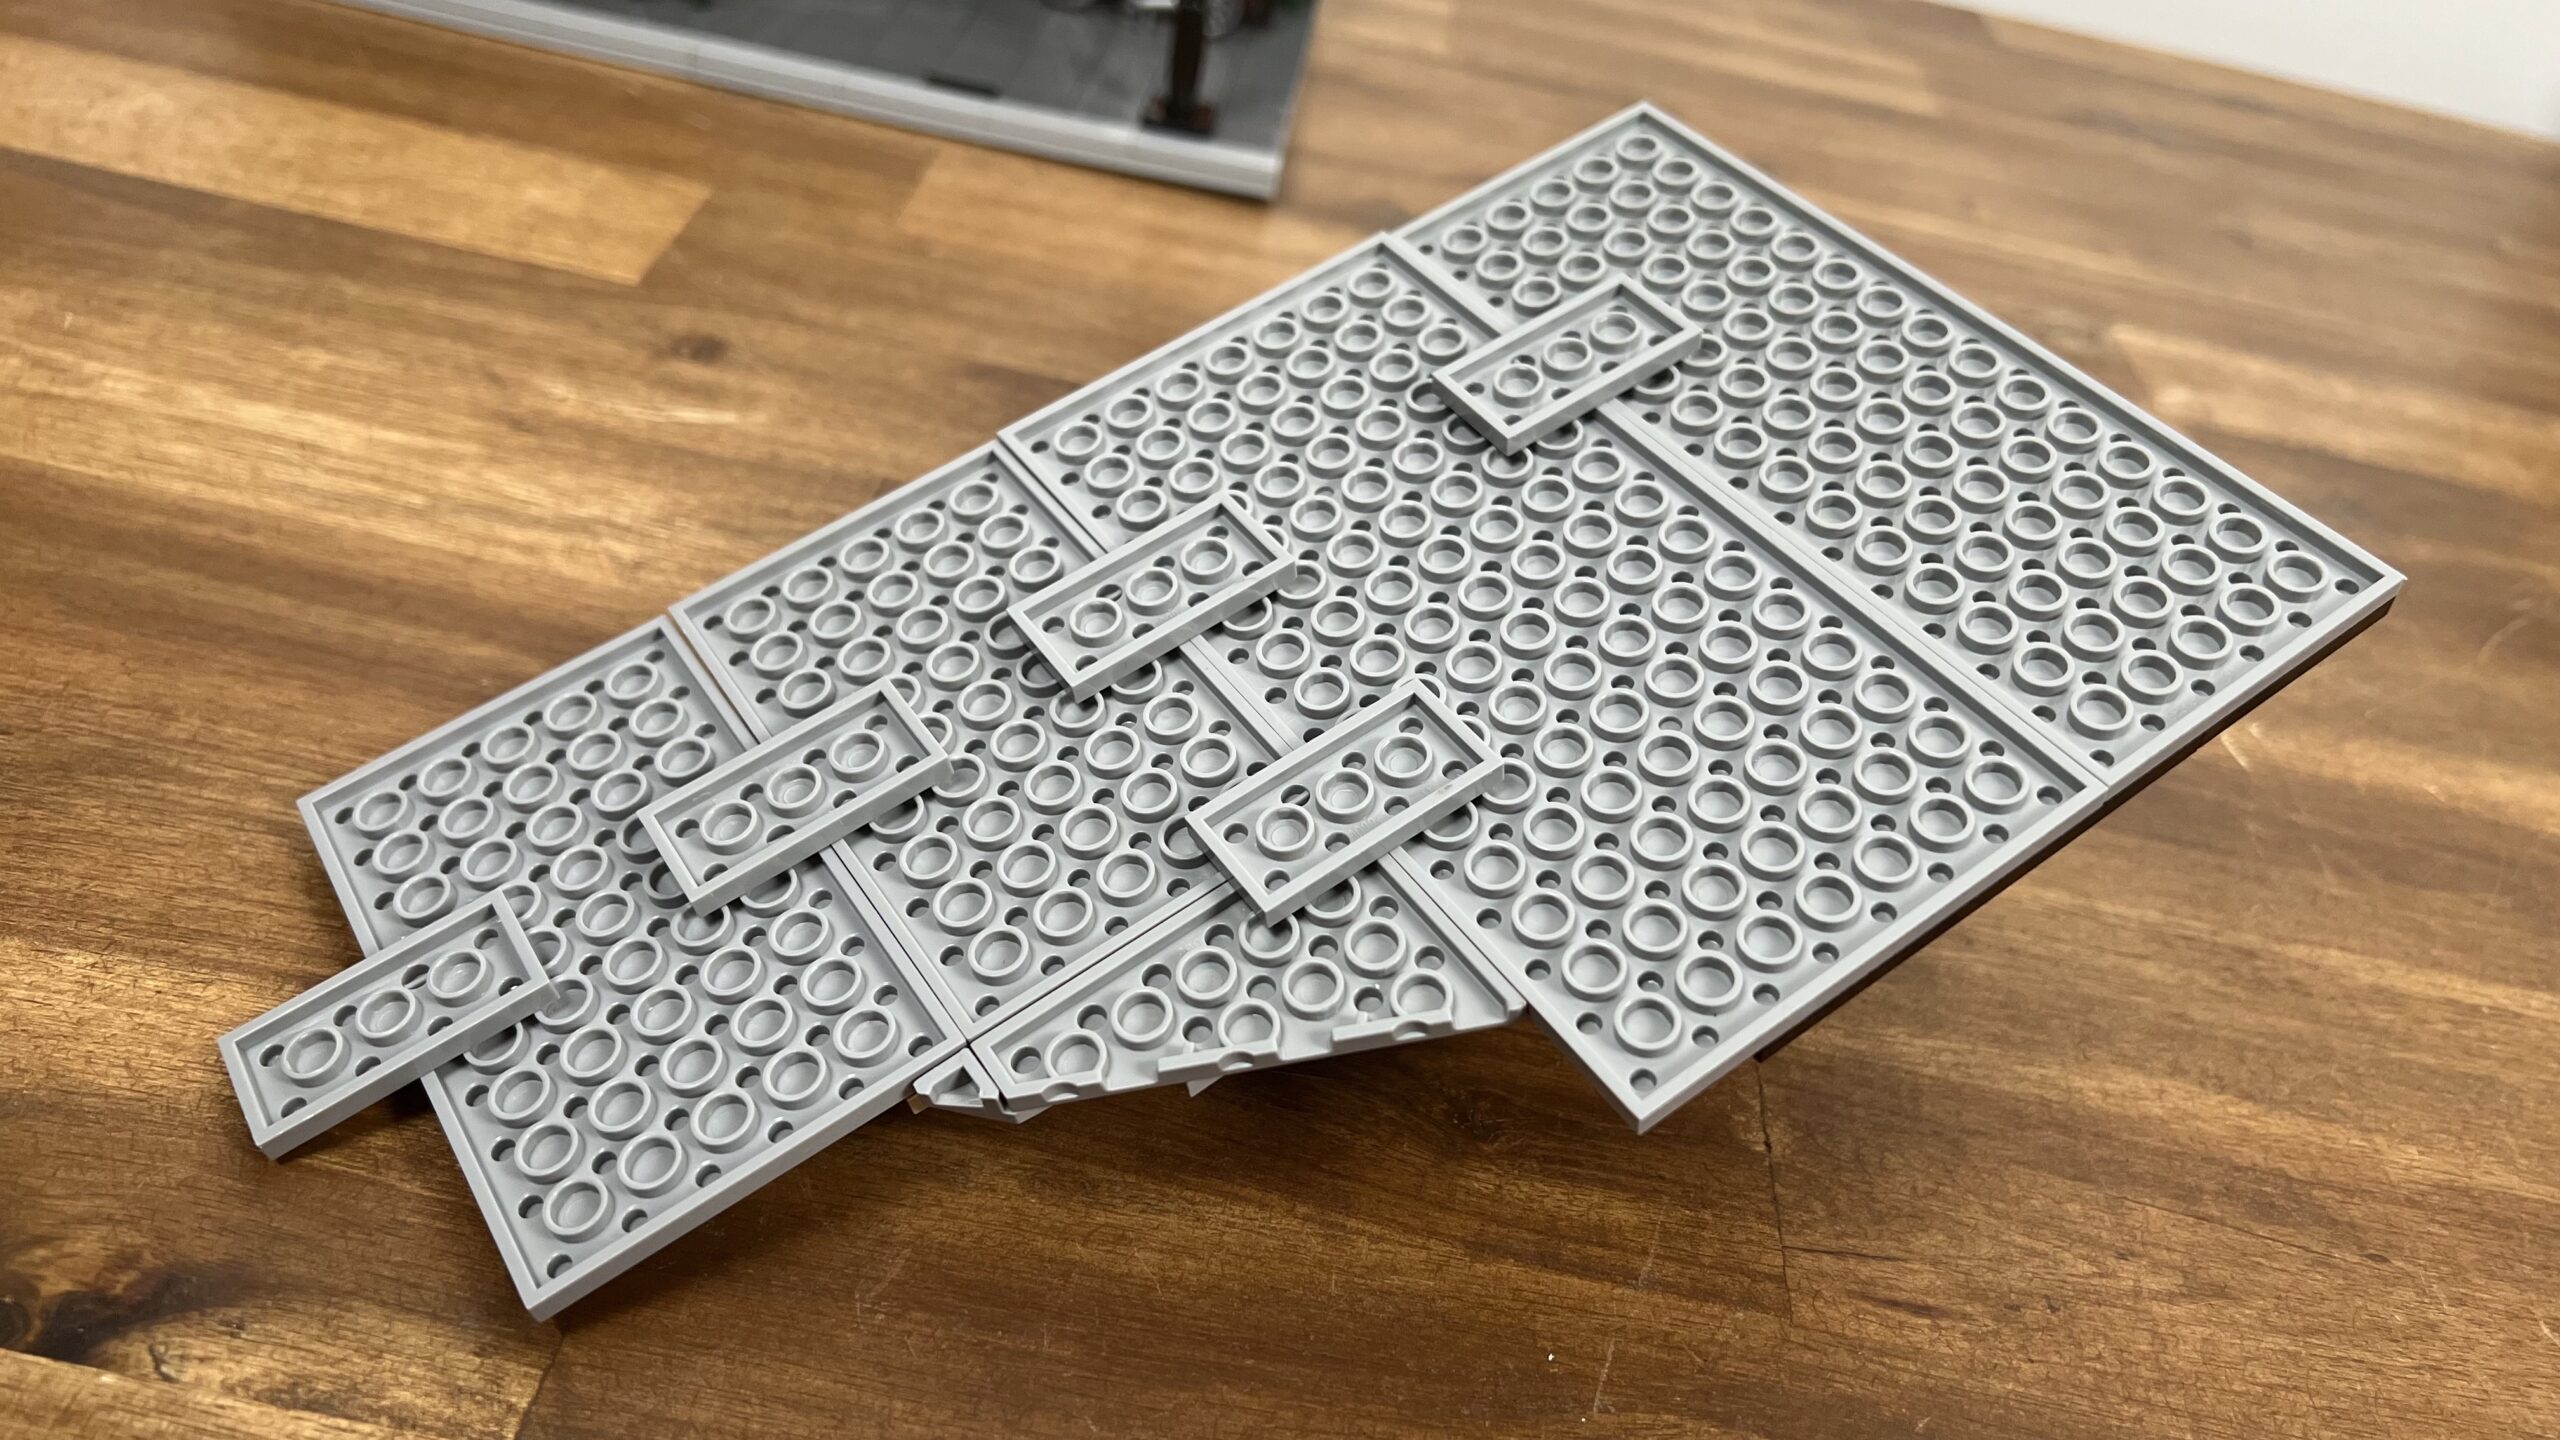
The first step is to lay the foundation of the coffee house. Instead of one large plate, the designer opted for several plates. Some of these plates are tiled with dark blueish-gray tiles.
This is the case for the front area of the building. The other side remains untiled, which is a bit of a shame, as it makes the construction more wobbly. In the first step, I also built the ground floor walls. The colors green, red, and orange dominate here.
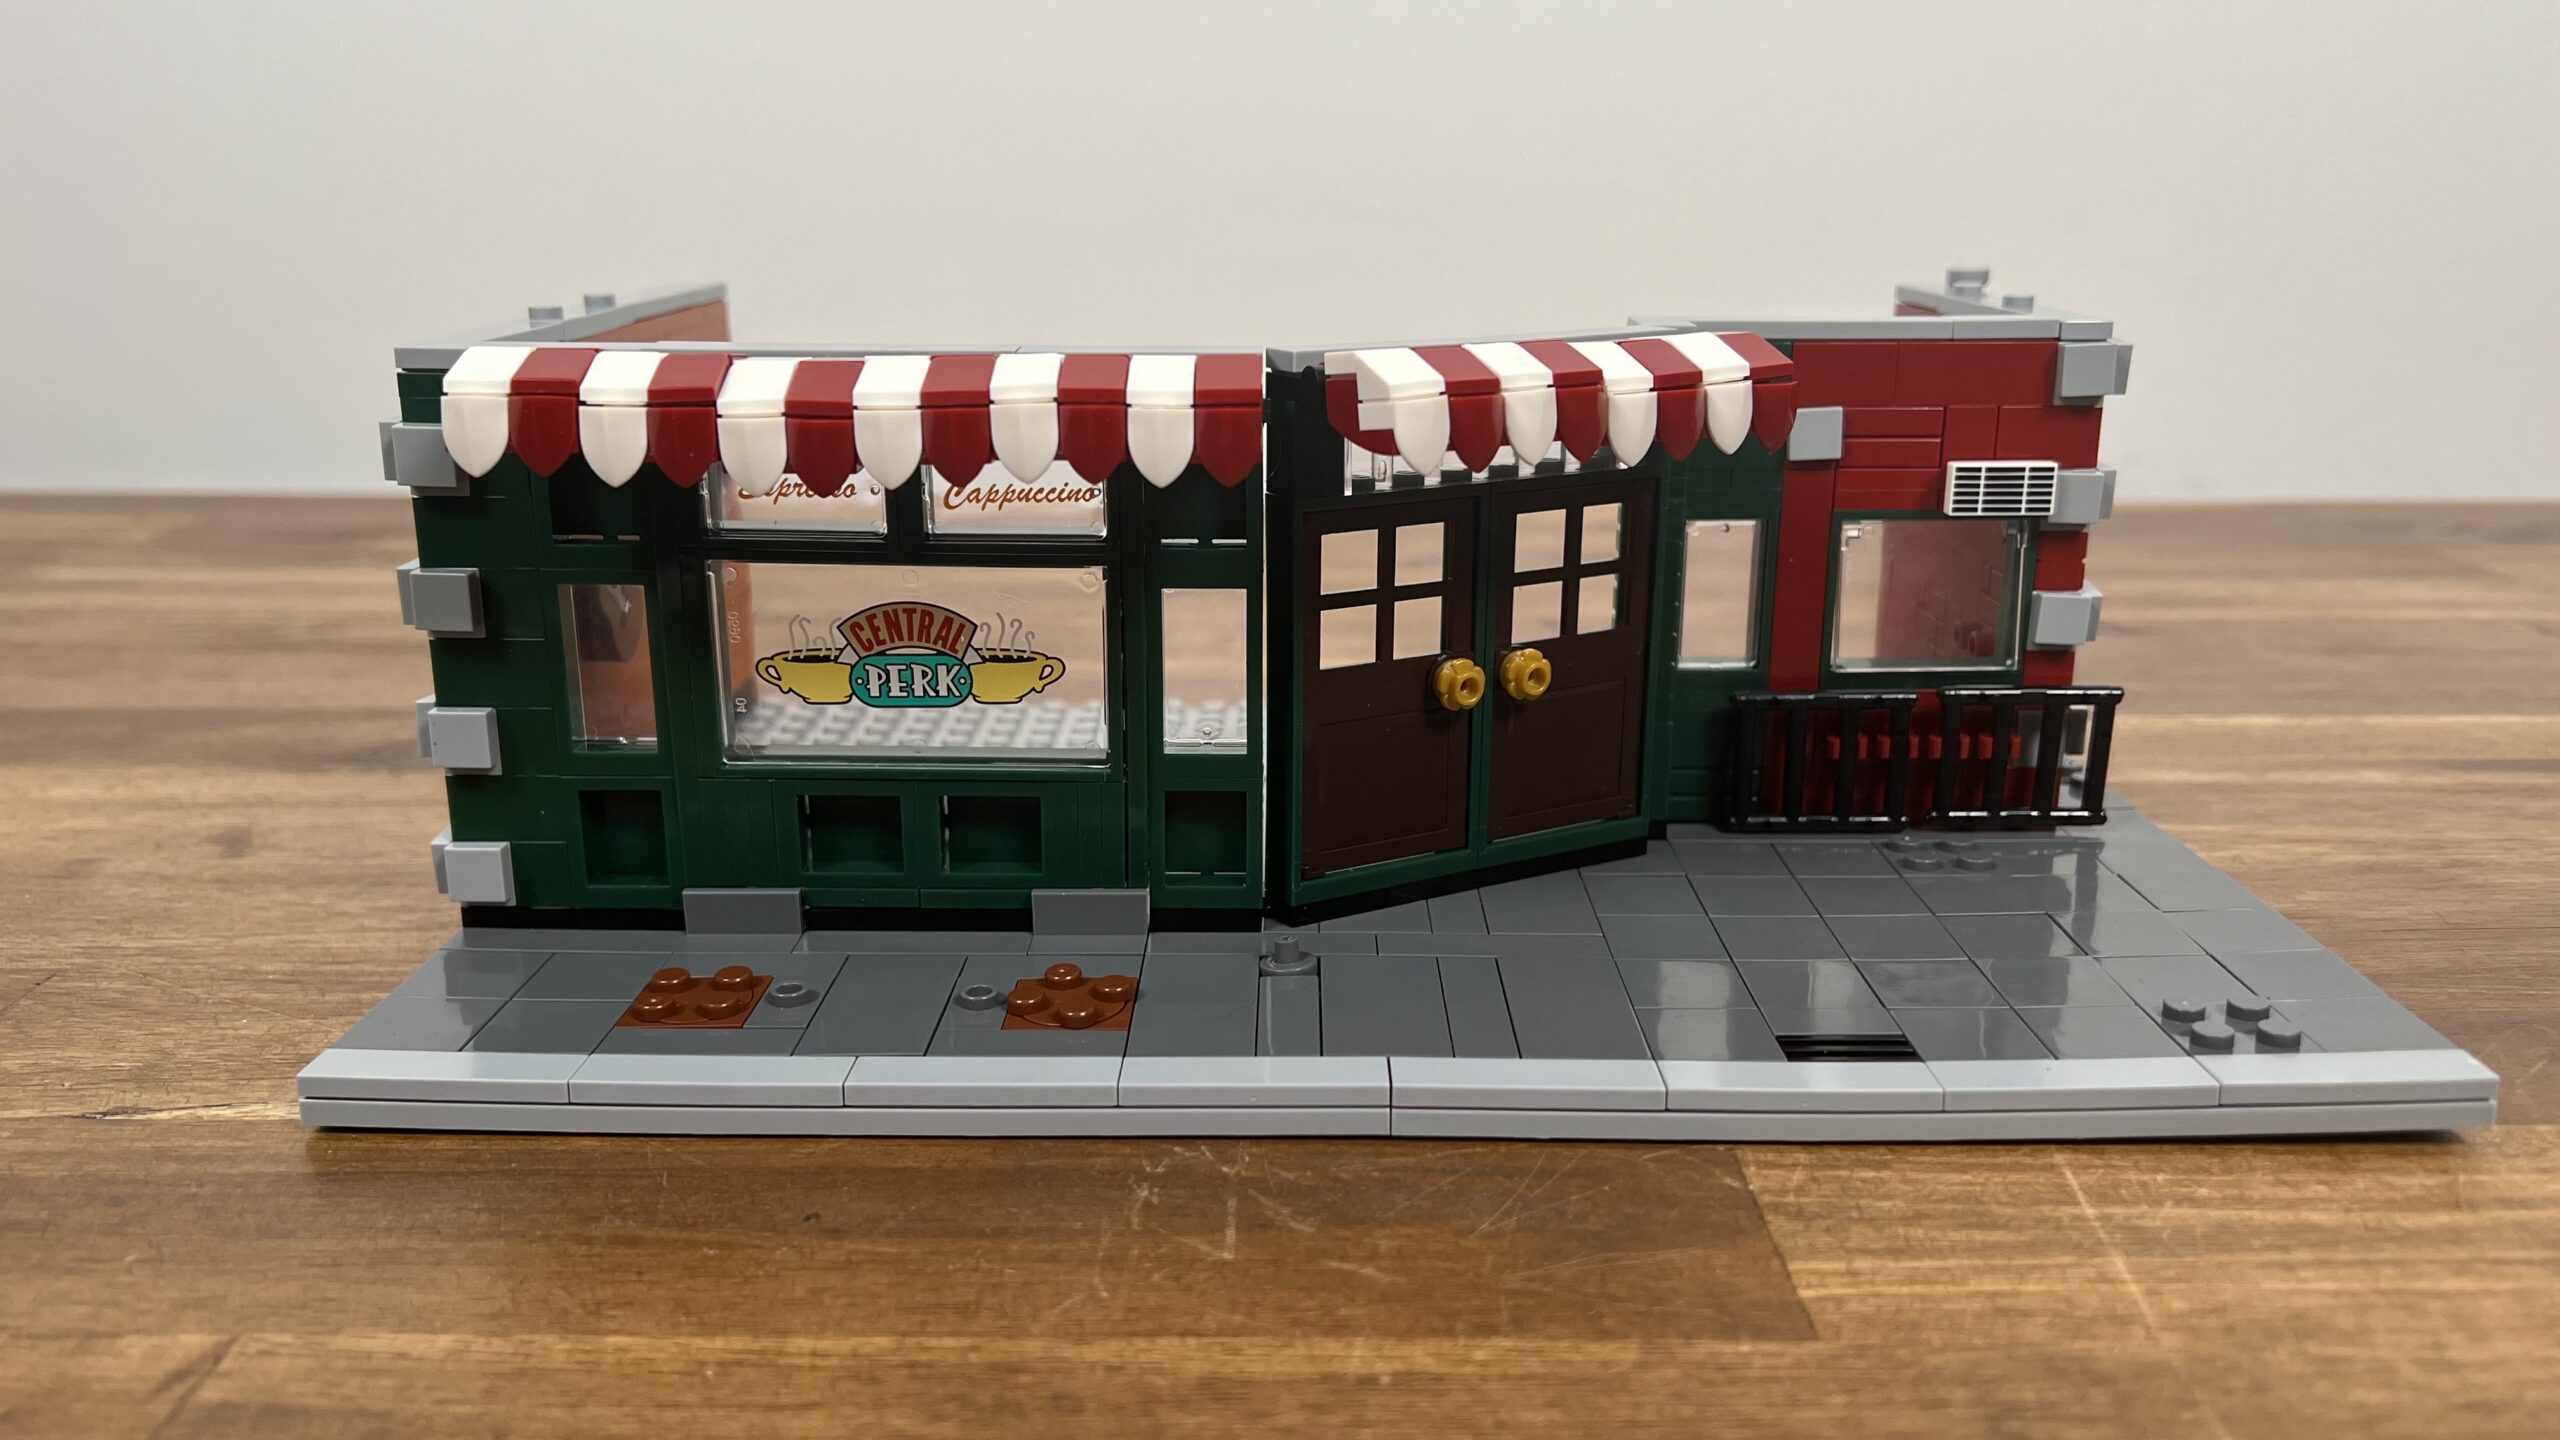
The ground-floor windows and doors are particularly striking. They have lovely pad prints (Central Perk, Espresso, Cappuccino), which are very favorable for a budget set.
1×1 gray tiles on the walls and a white/red awning provide a nice contrast. The latter was a bit repetitive when built. Plus, the window frame has an interesting construction technique with pliers.

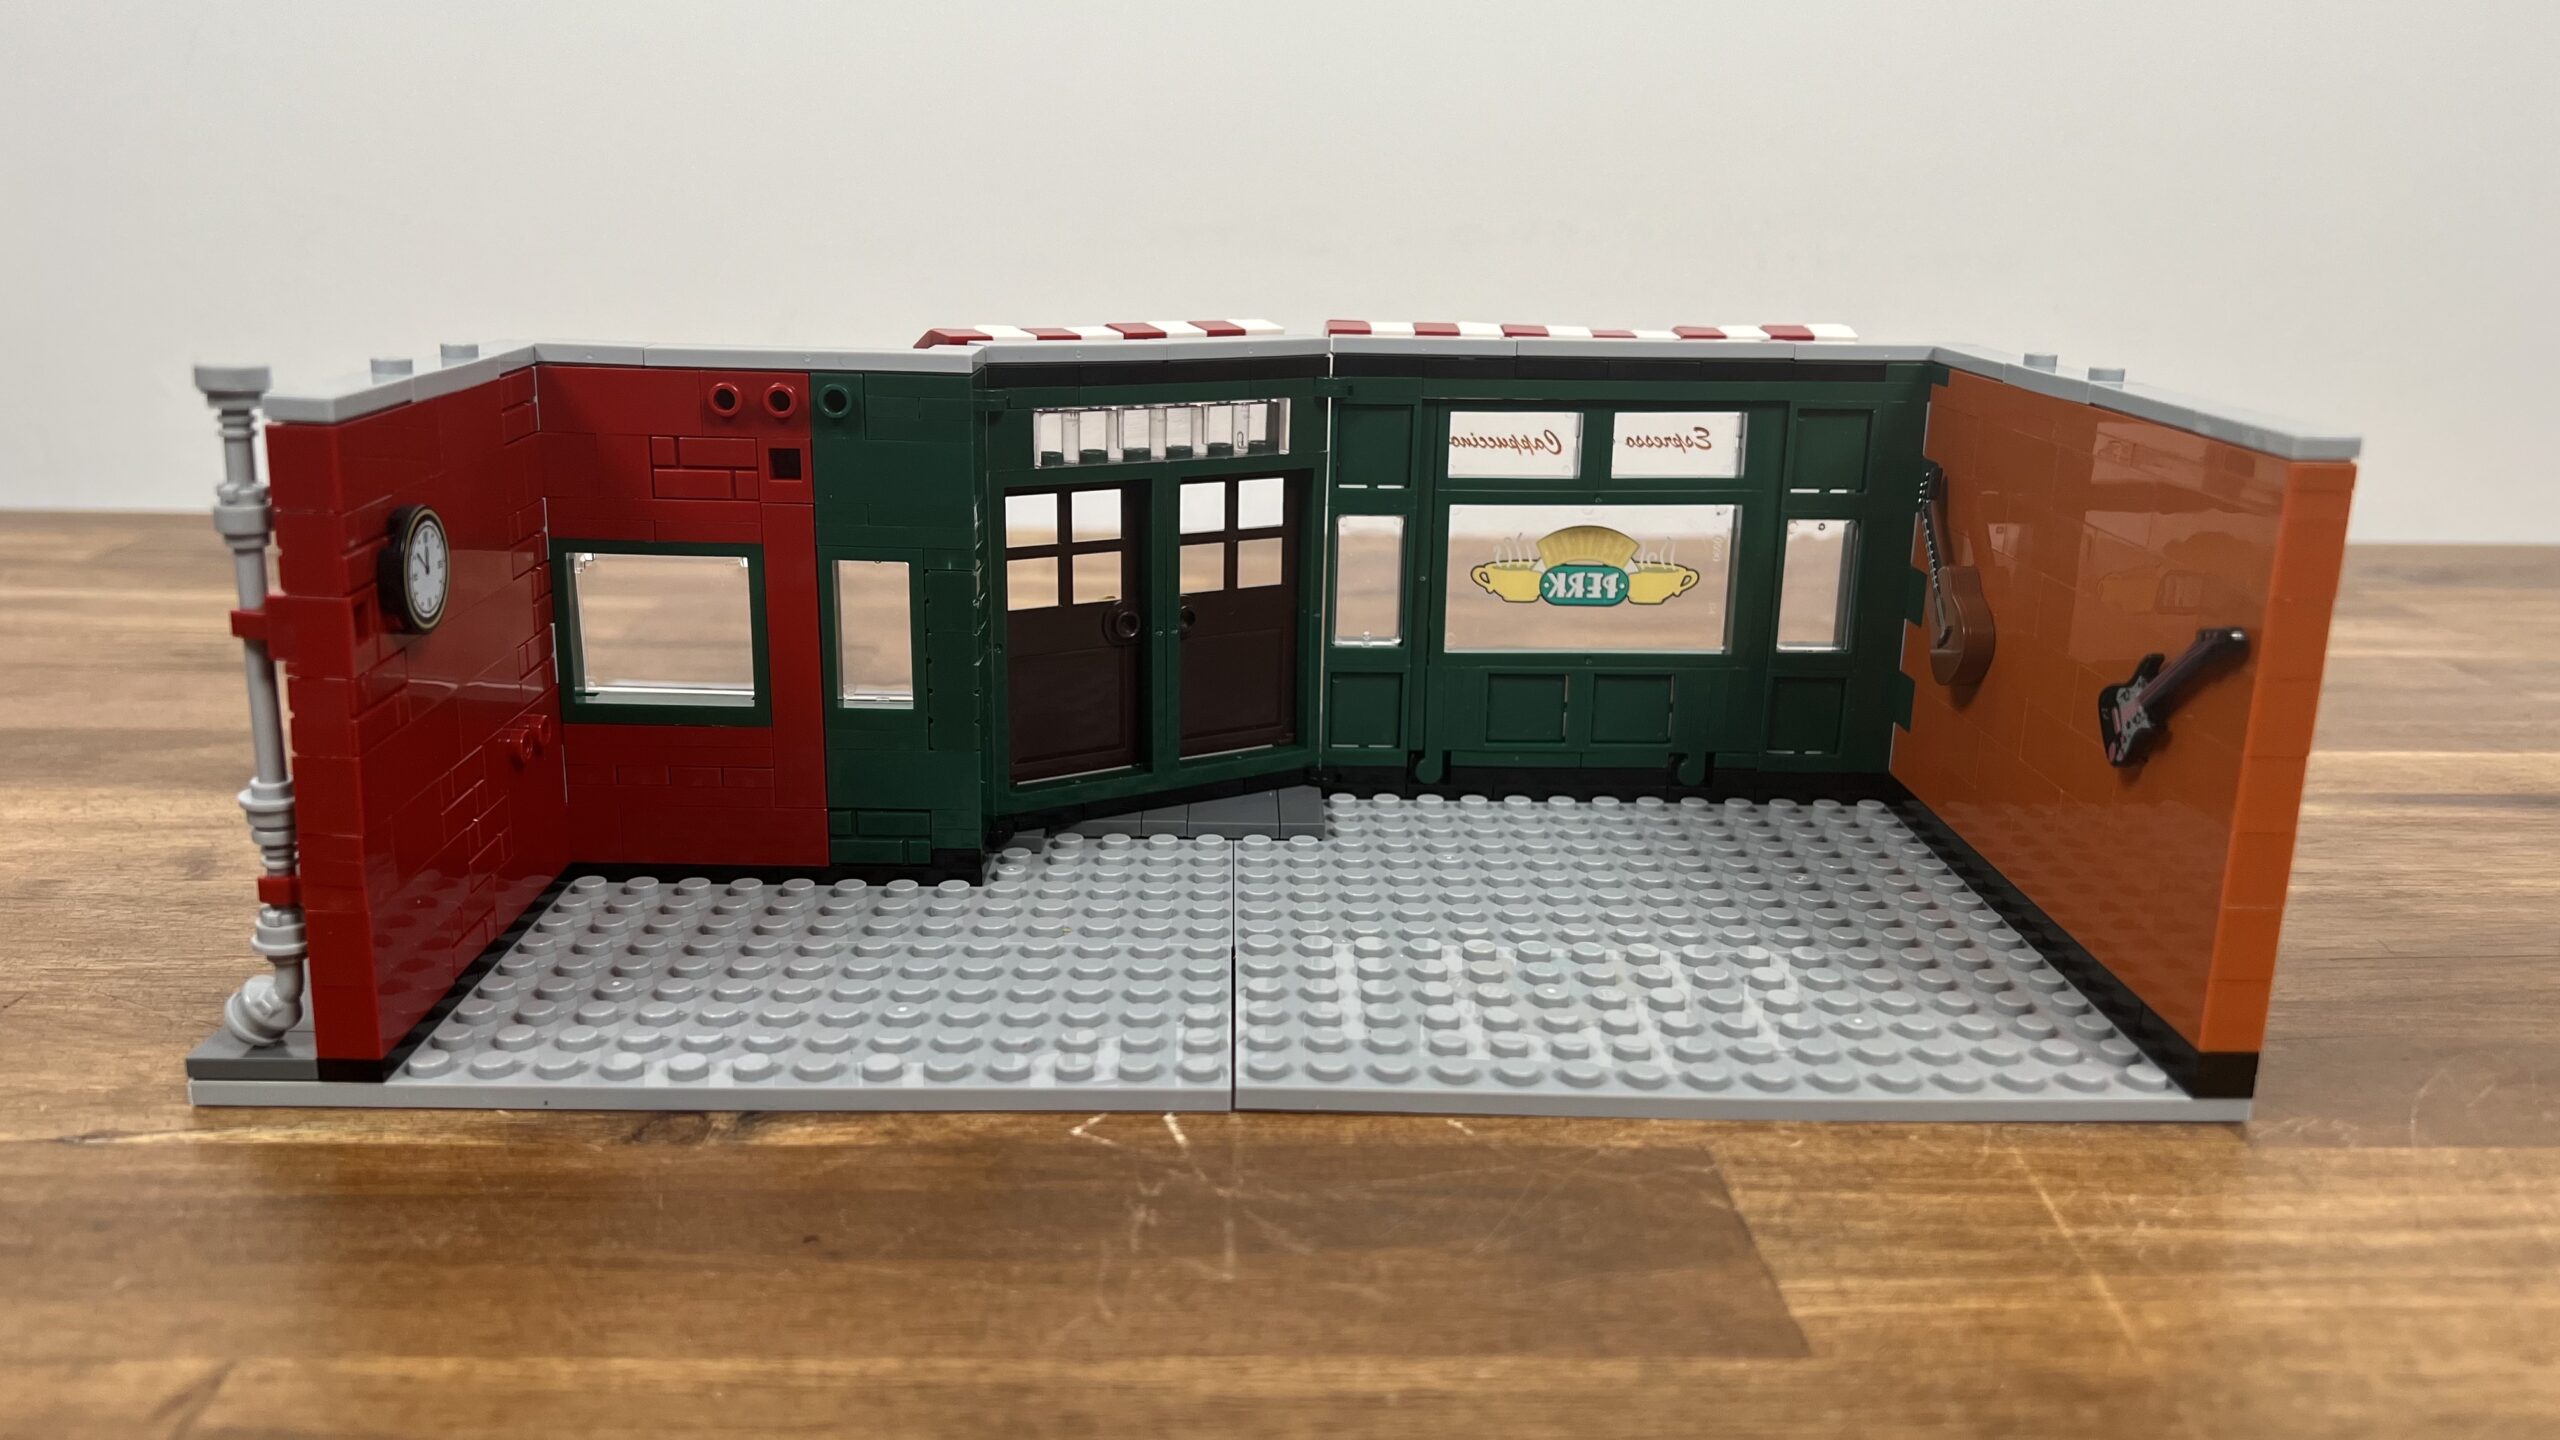
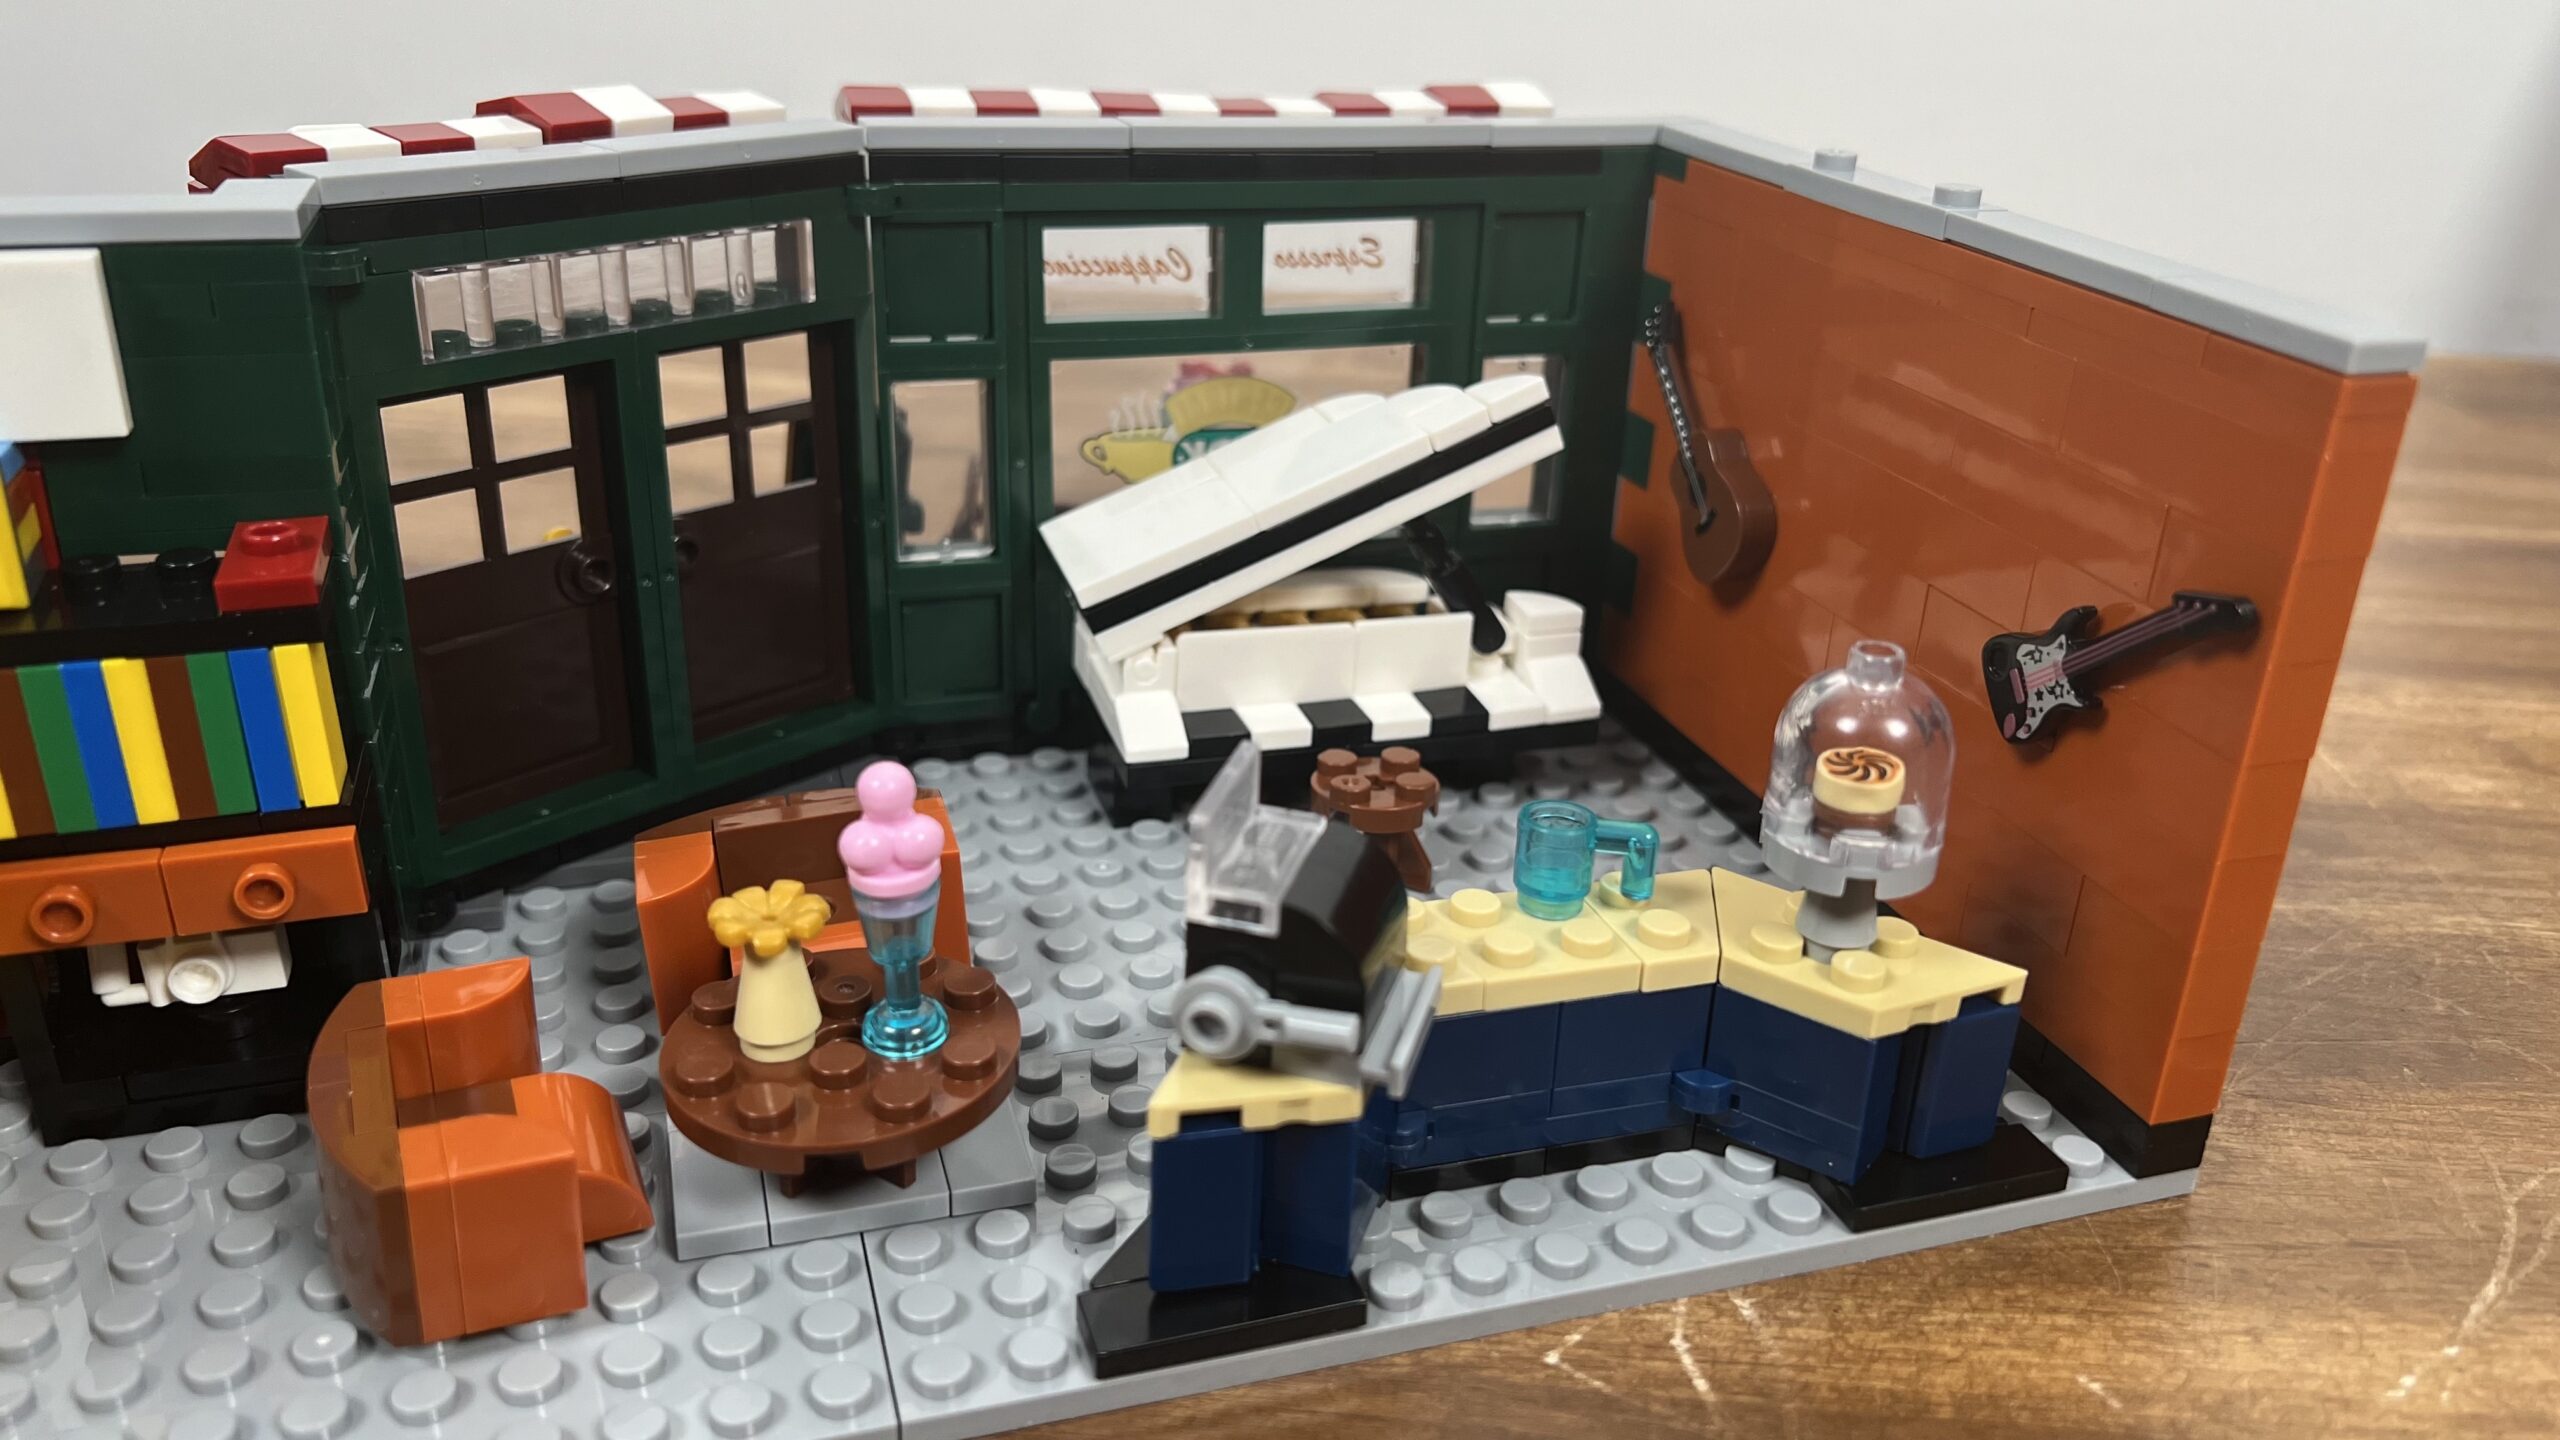
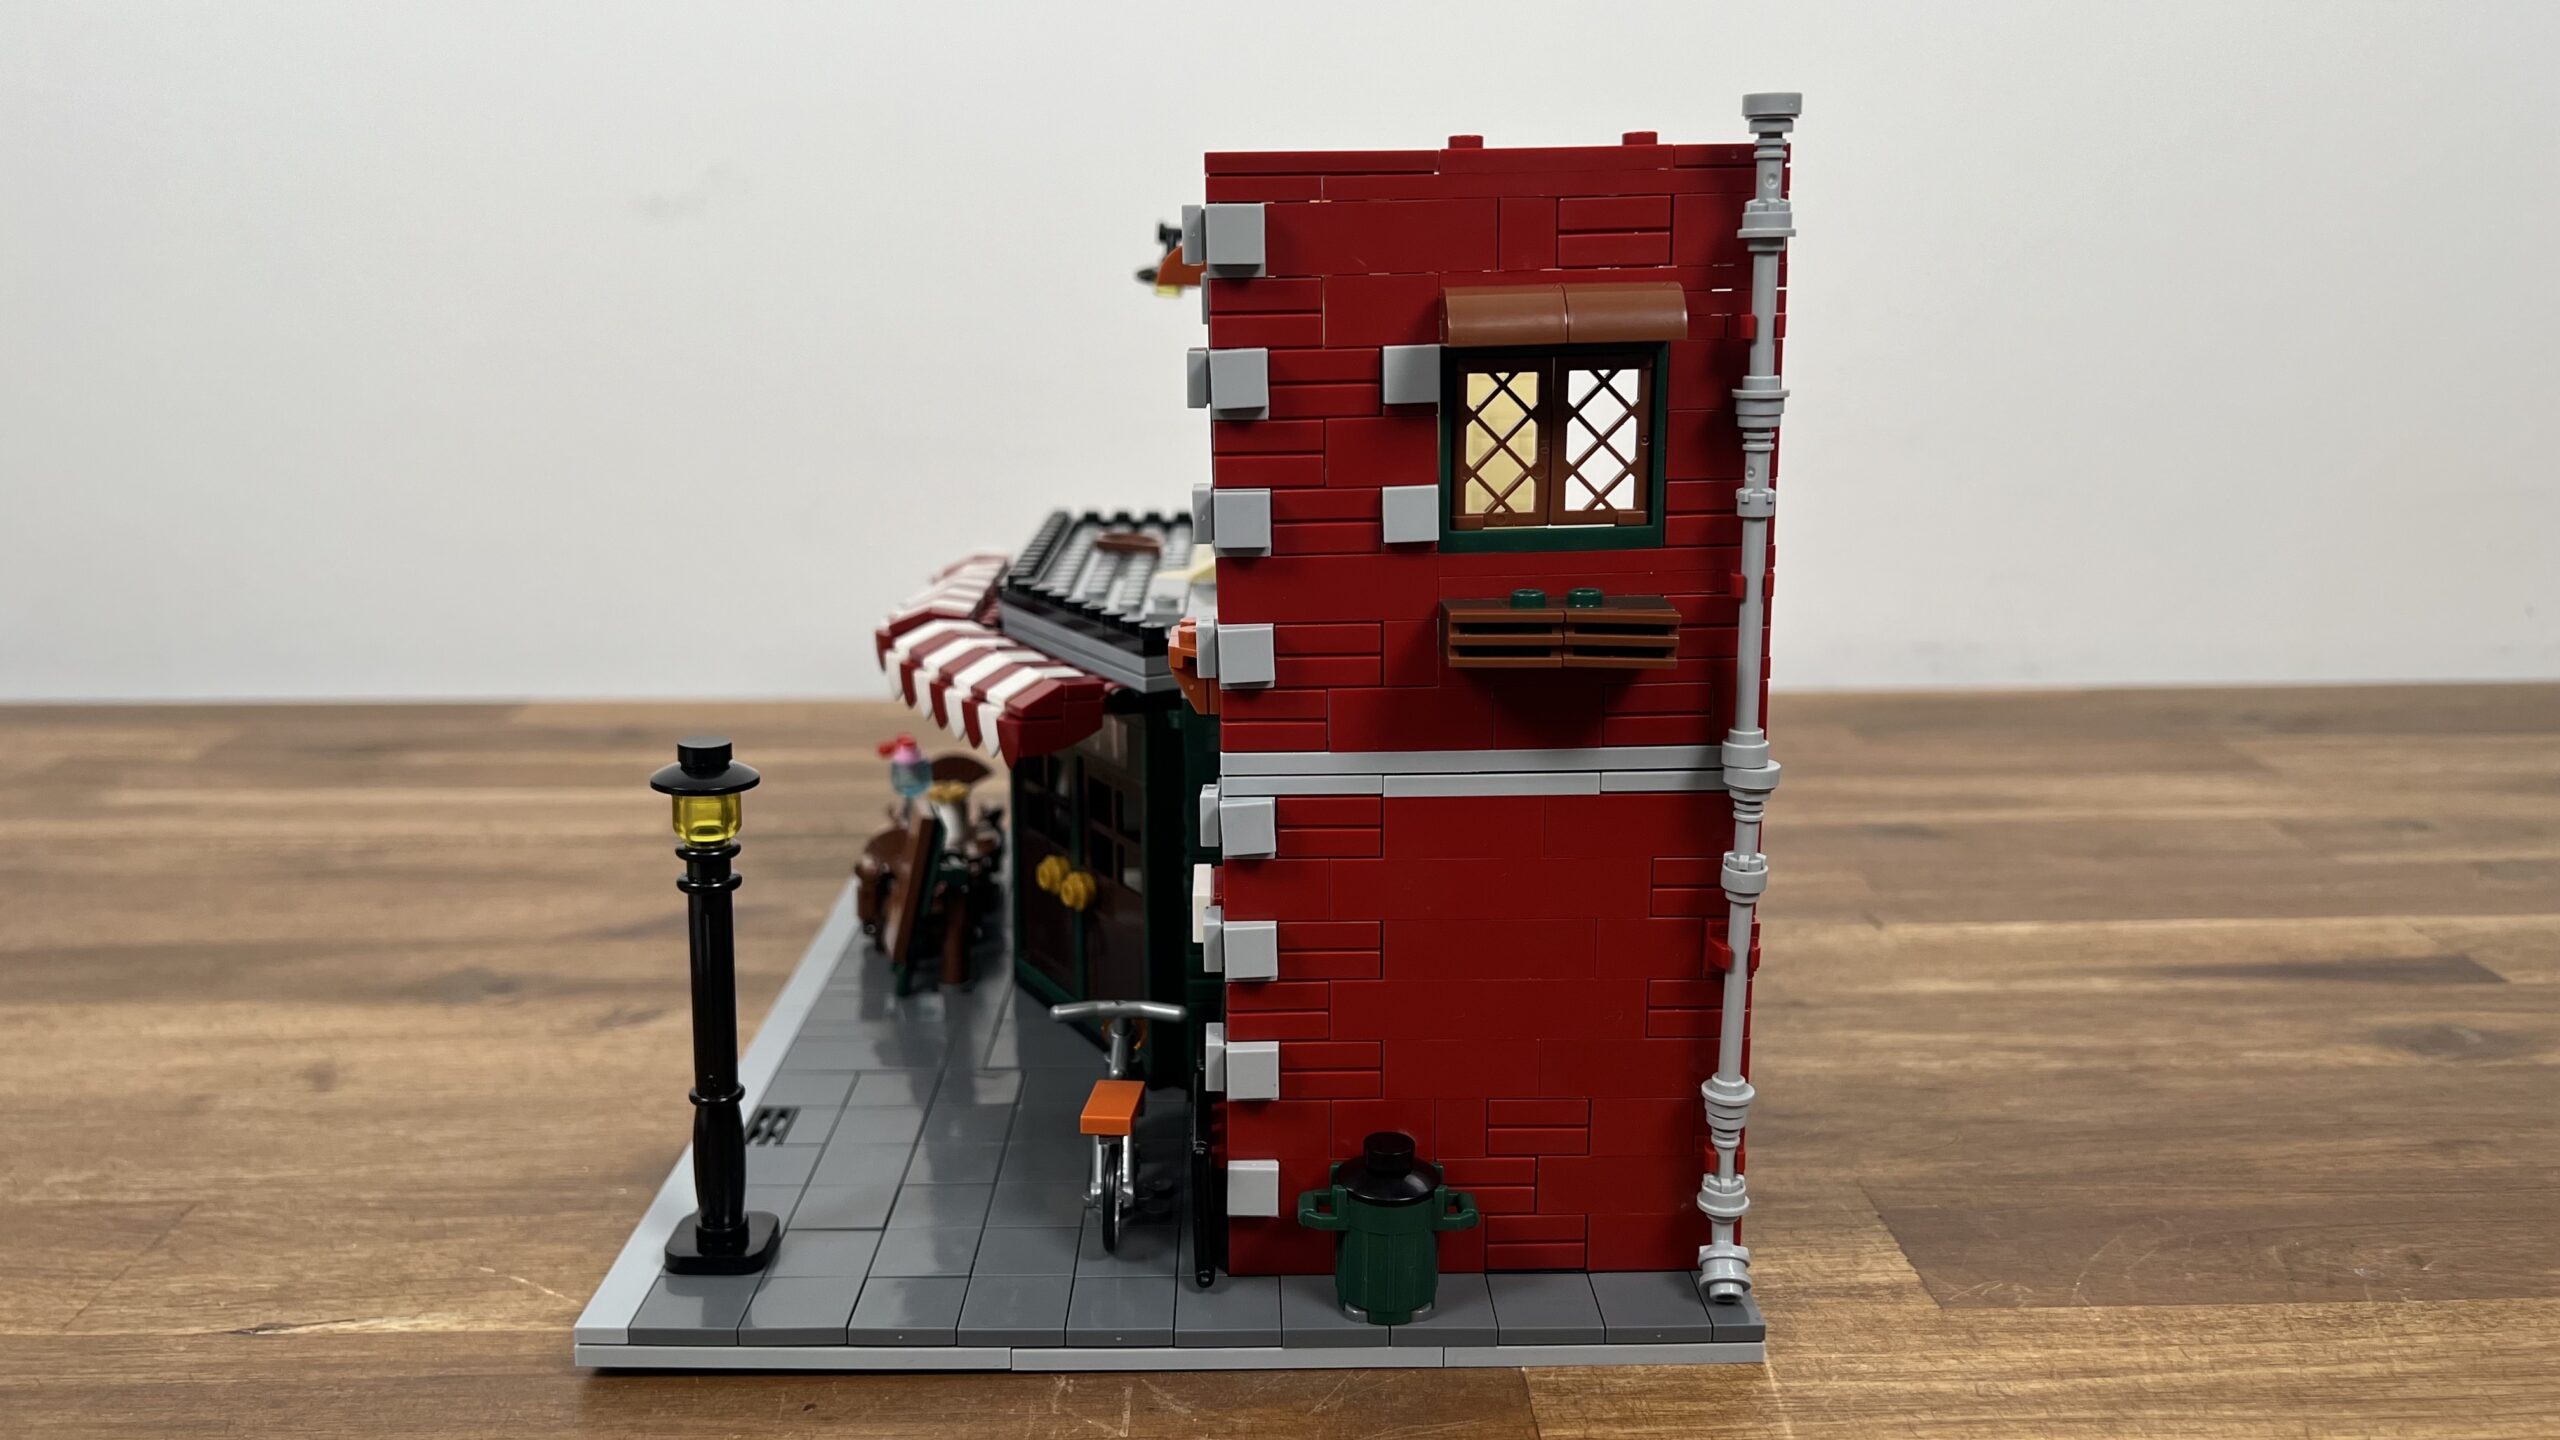
On the right side, on the red walls, a pipe system leading upwards was also installed. Let’s take a look inside, which is still pretty empty. Only two guitars and a clock, all with prints, decorate the walls.
Building Step 2
The motto of the second construction phase is interior work. But let’s start in front of the door. There are now wood-style brown chairs, a table with extras, a street lamp, and a silver bicycle.
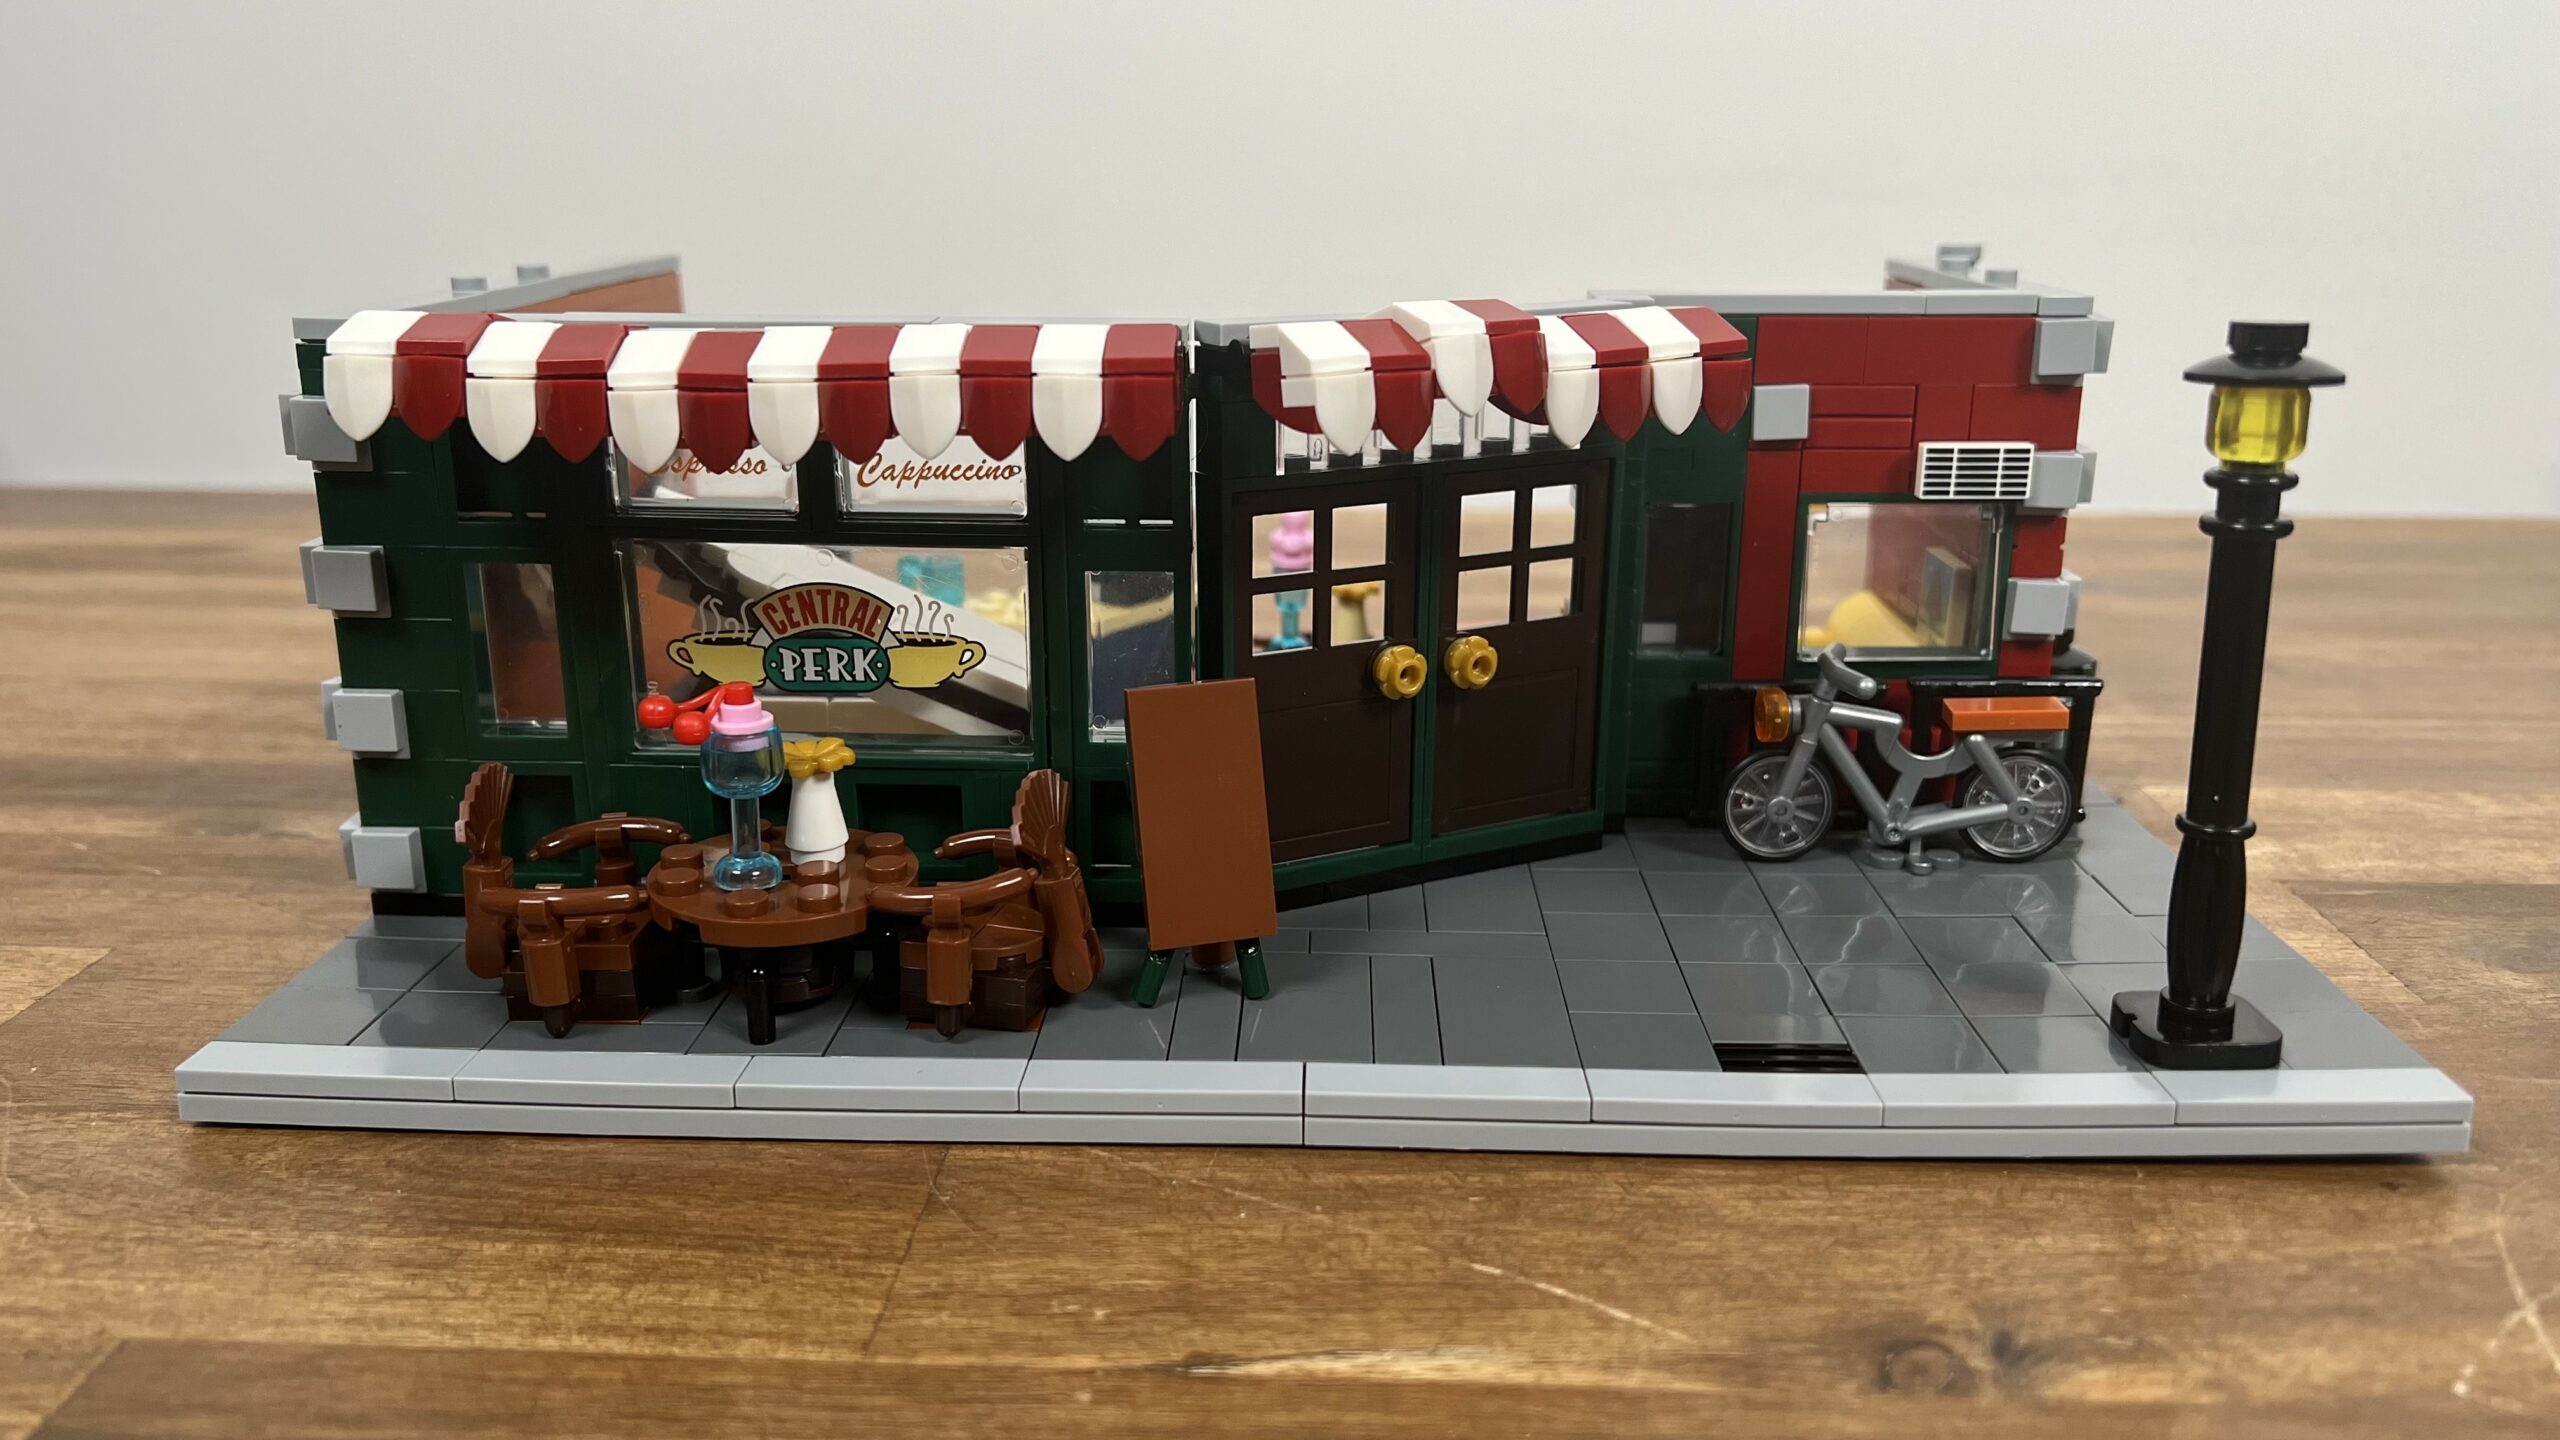
There is also a sign, but it is a bit pale because it should have a sticker. Let’s turn the set. More activity has now been added here.
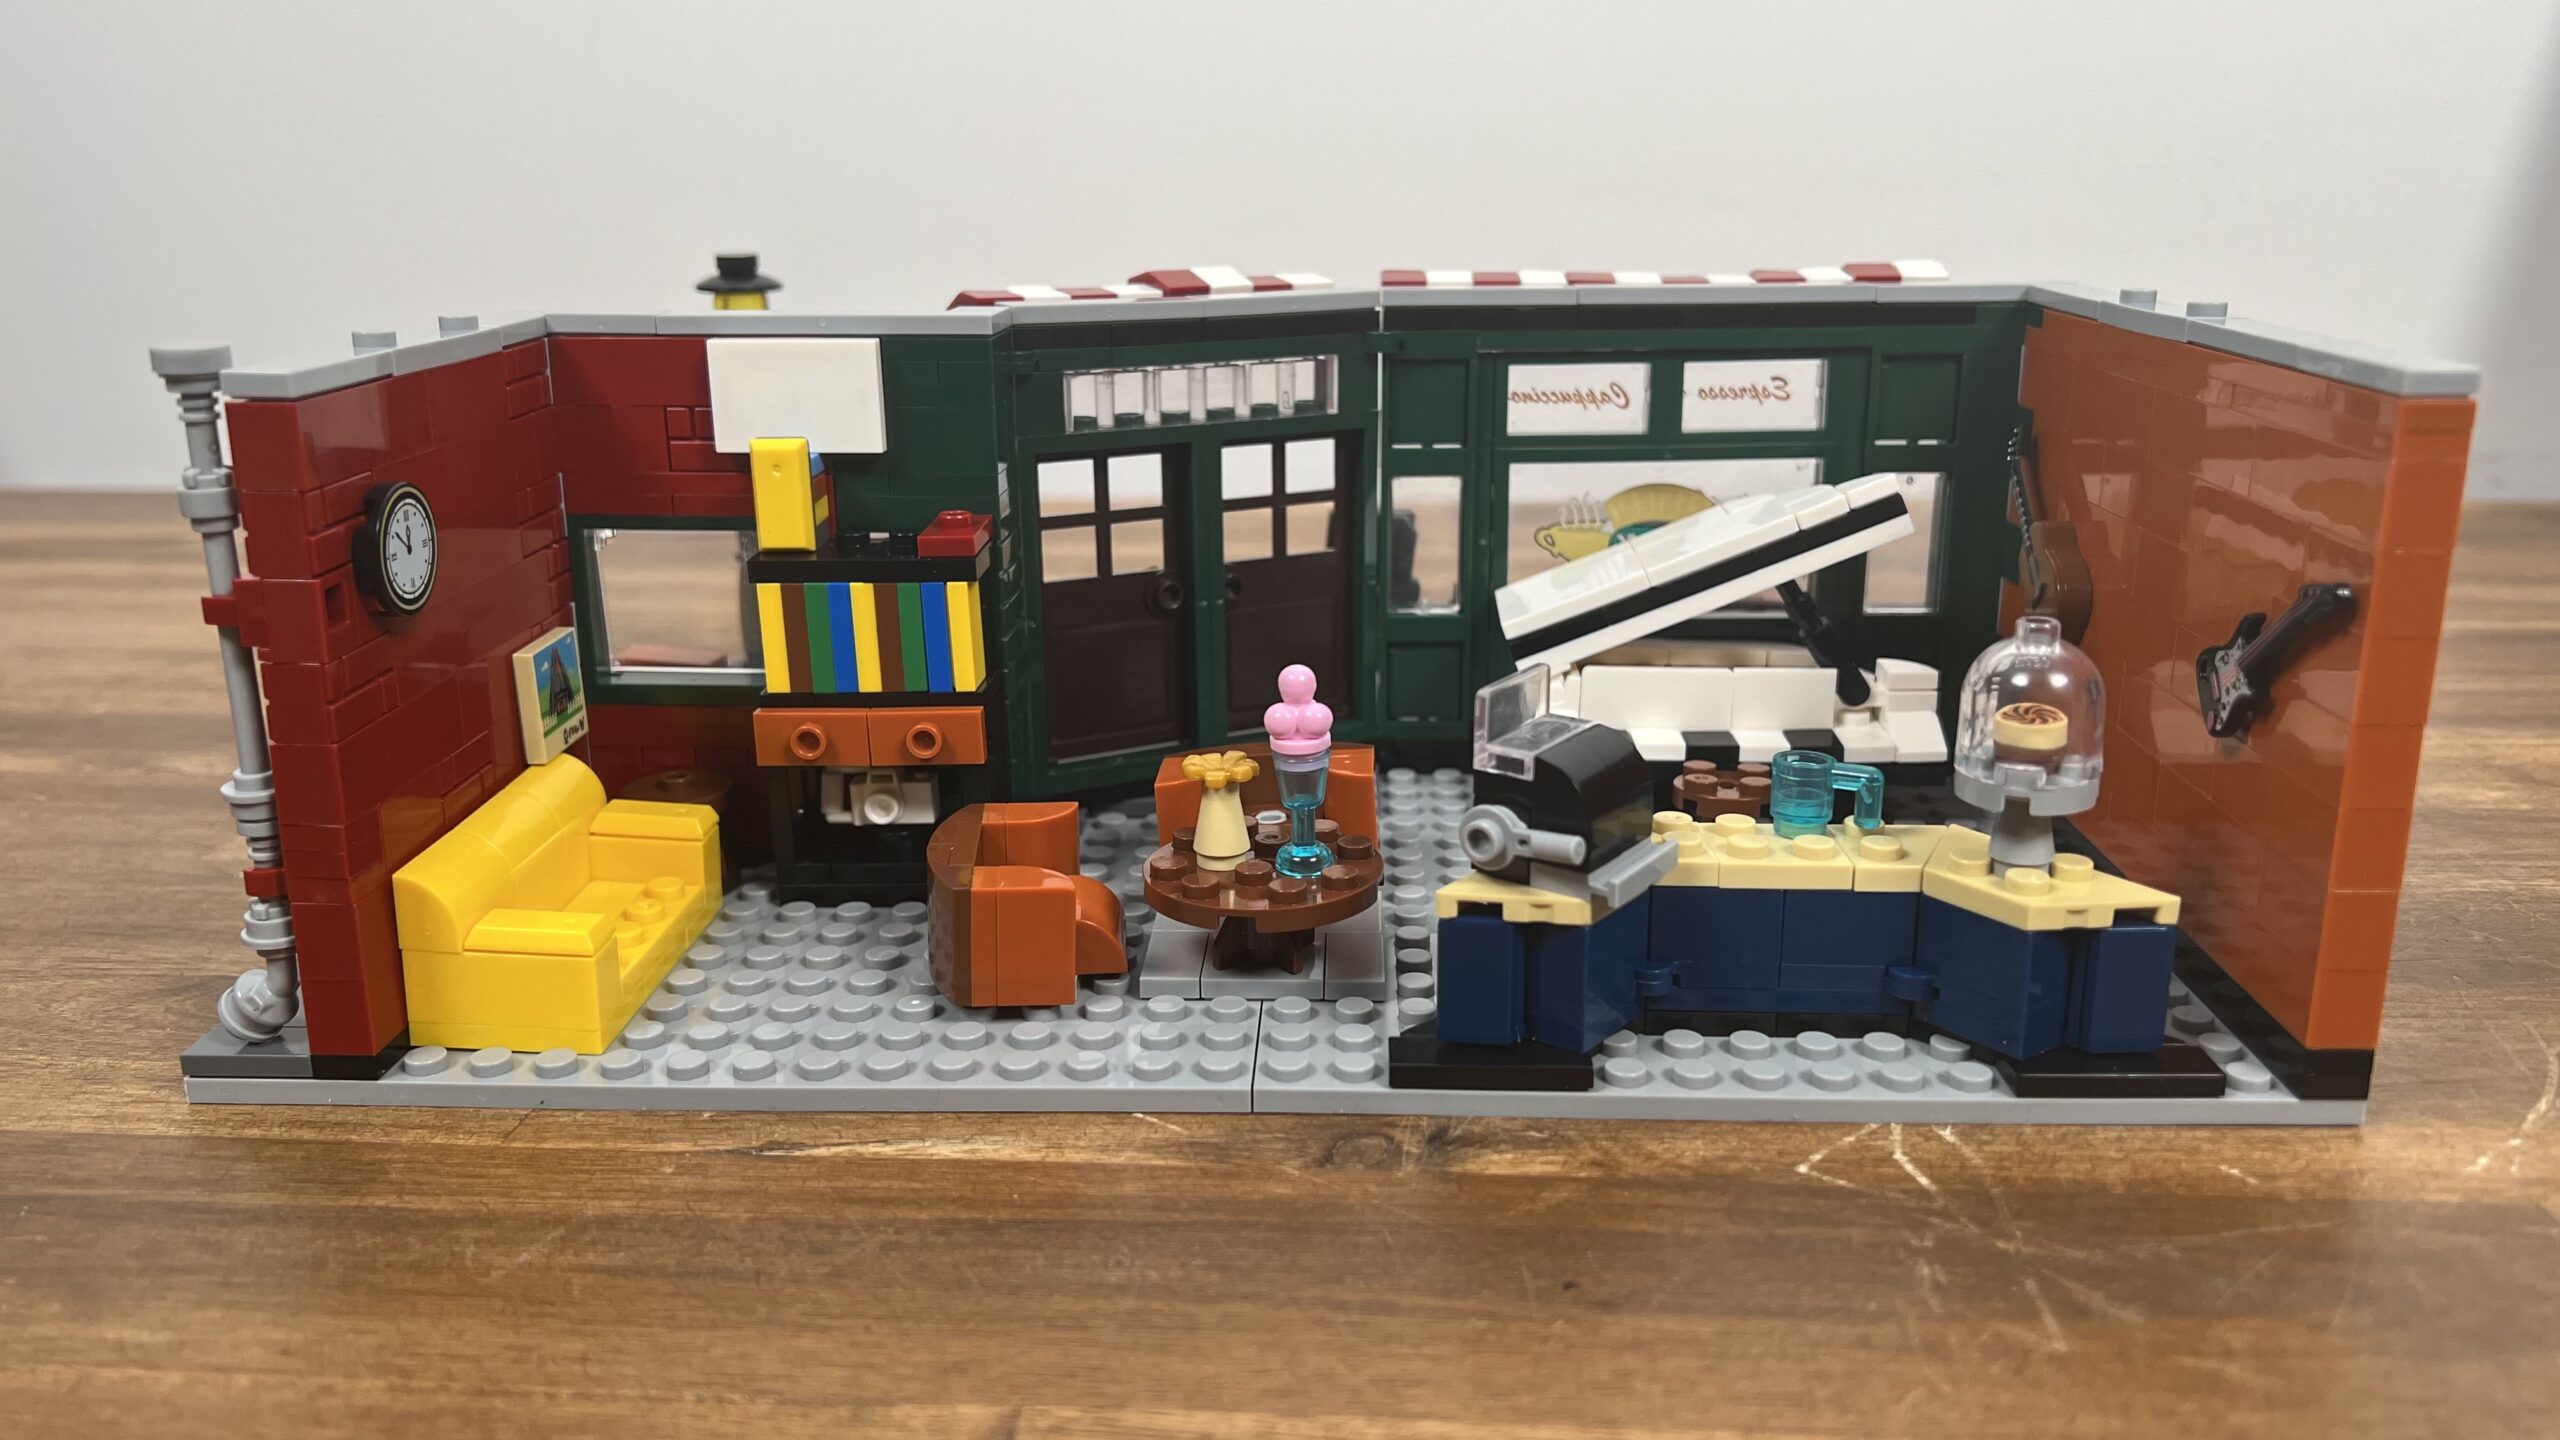
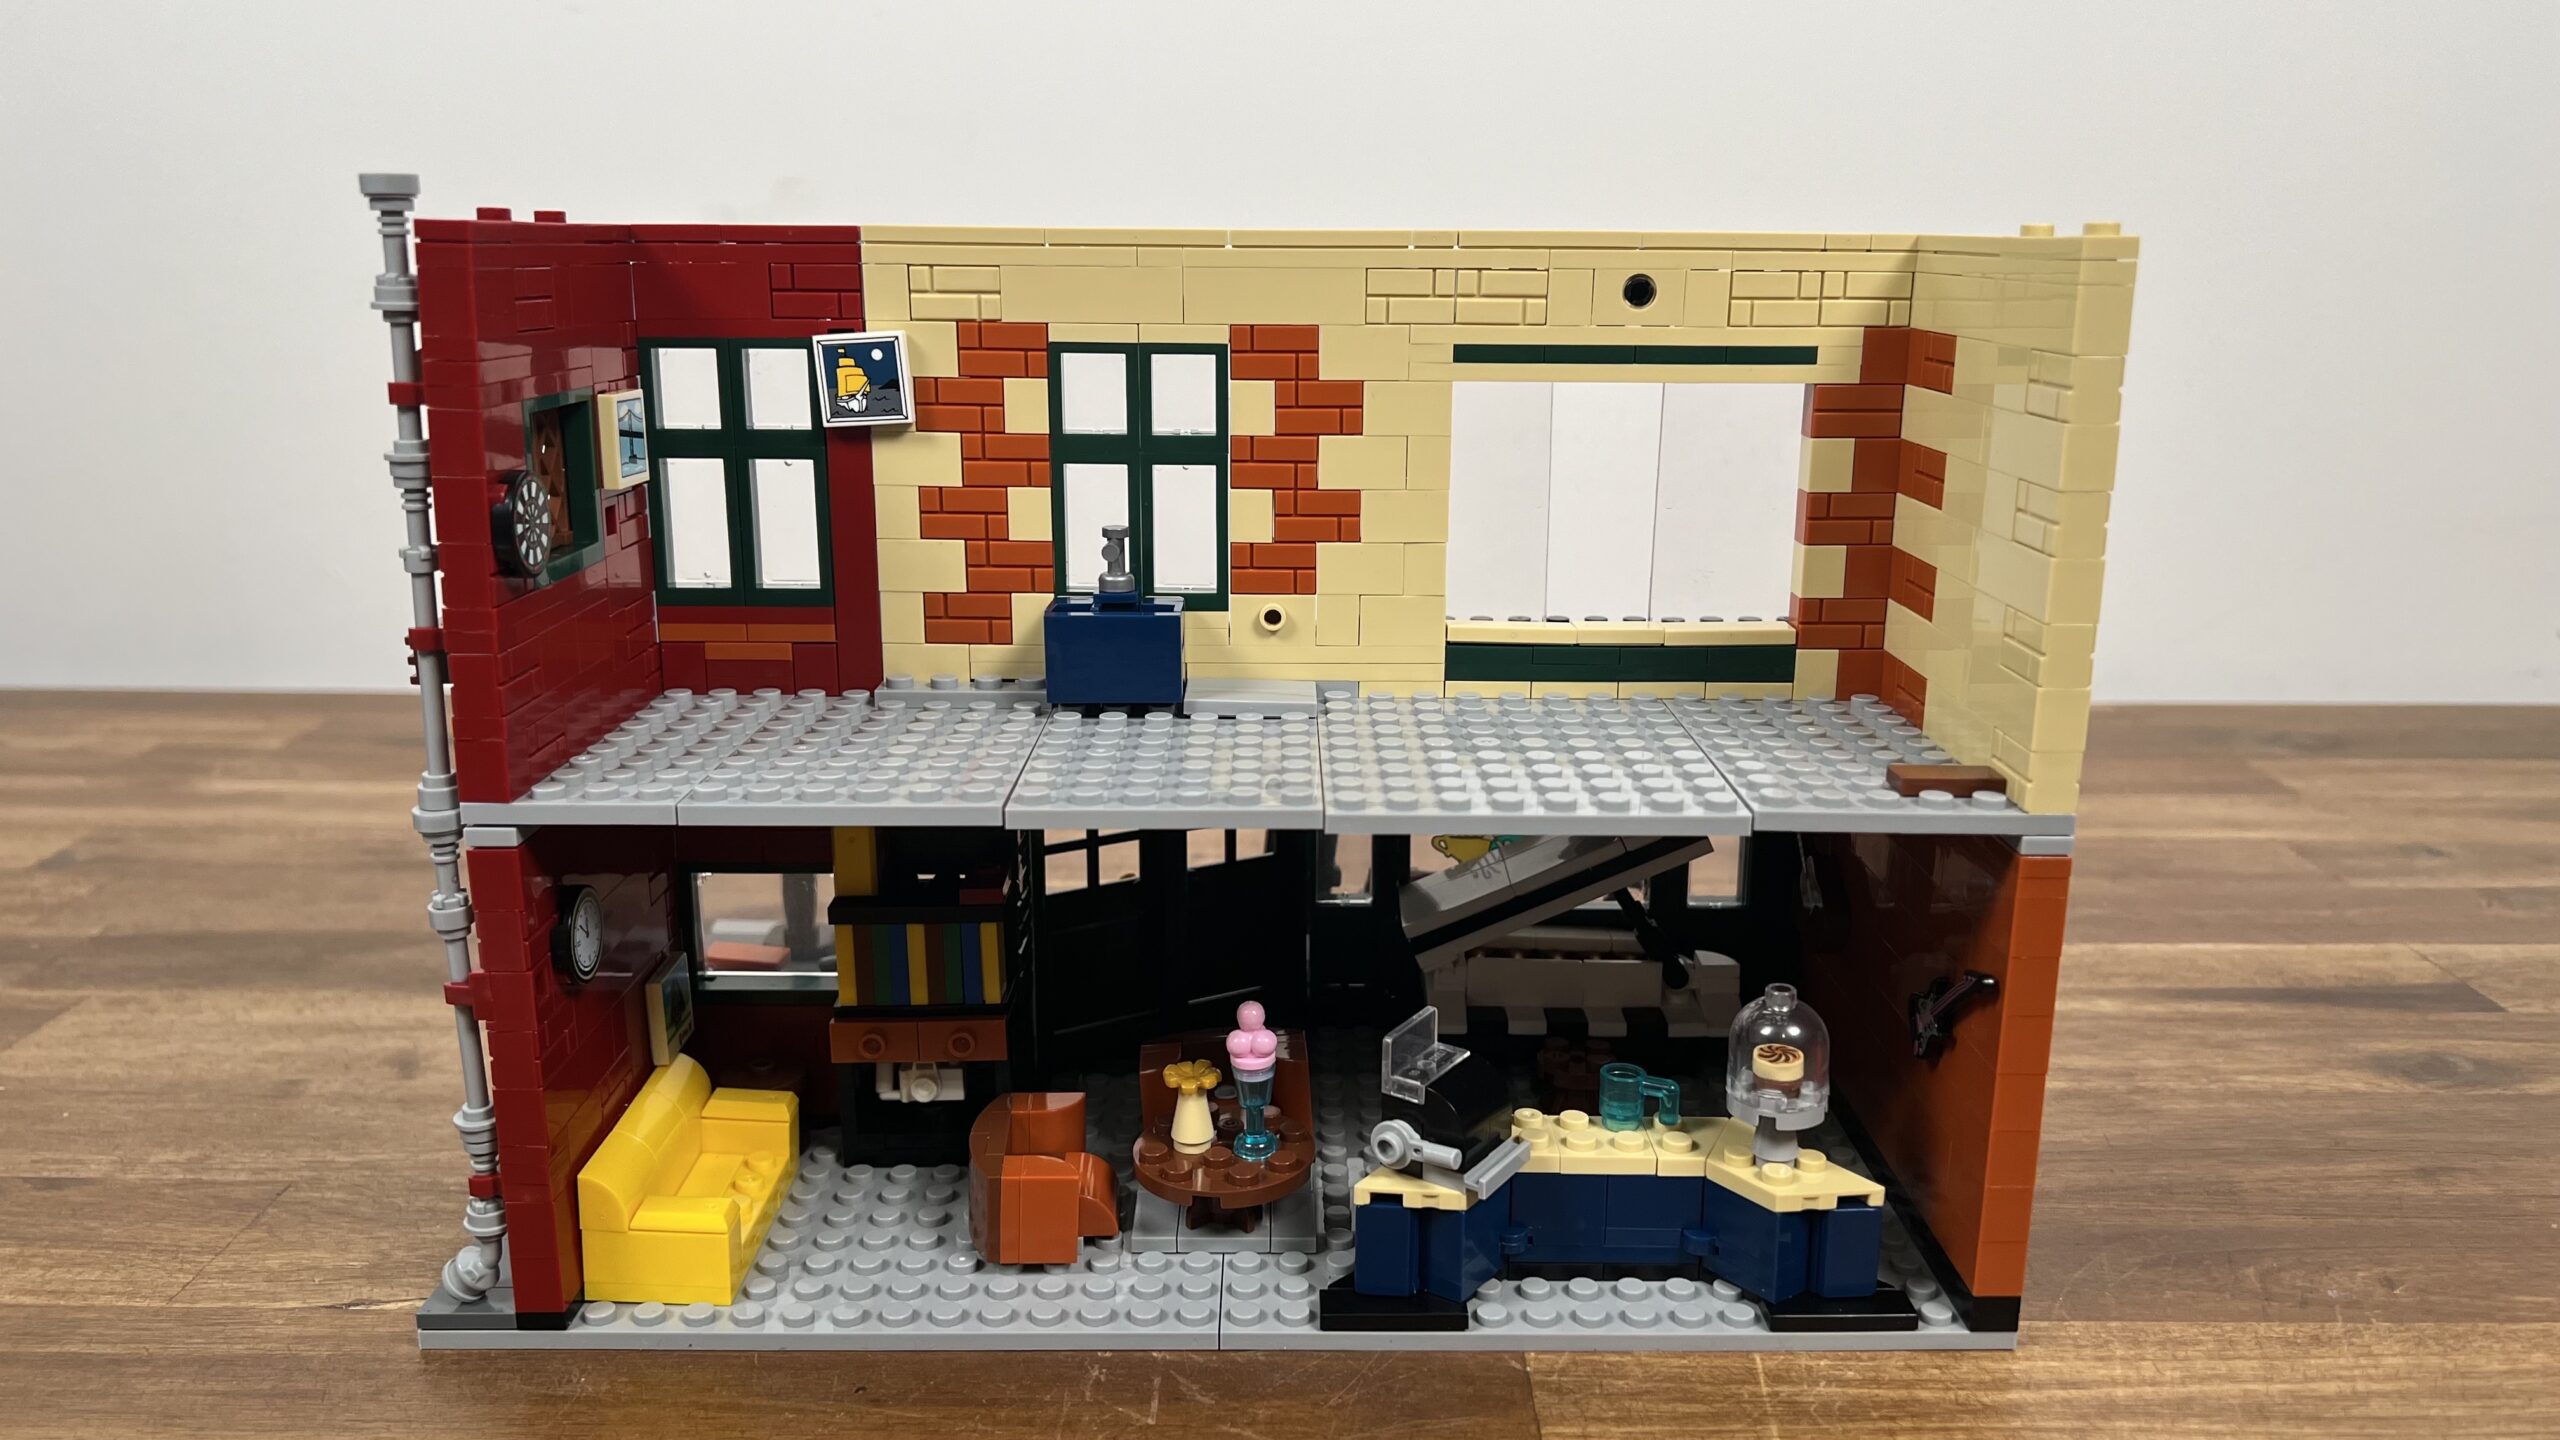
On the left side is a cozy section with a brick-built yellow sofa and a lovely bookcase. The red wall now also has a print picture. Then, in the middle, there is a comfy seating set with a table with accessories.
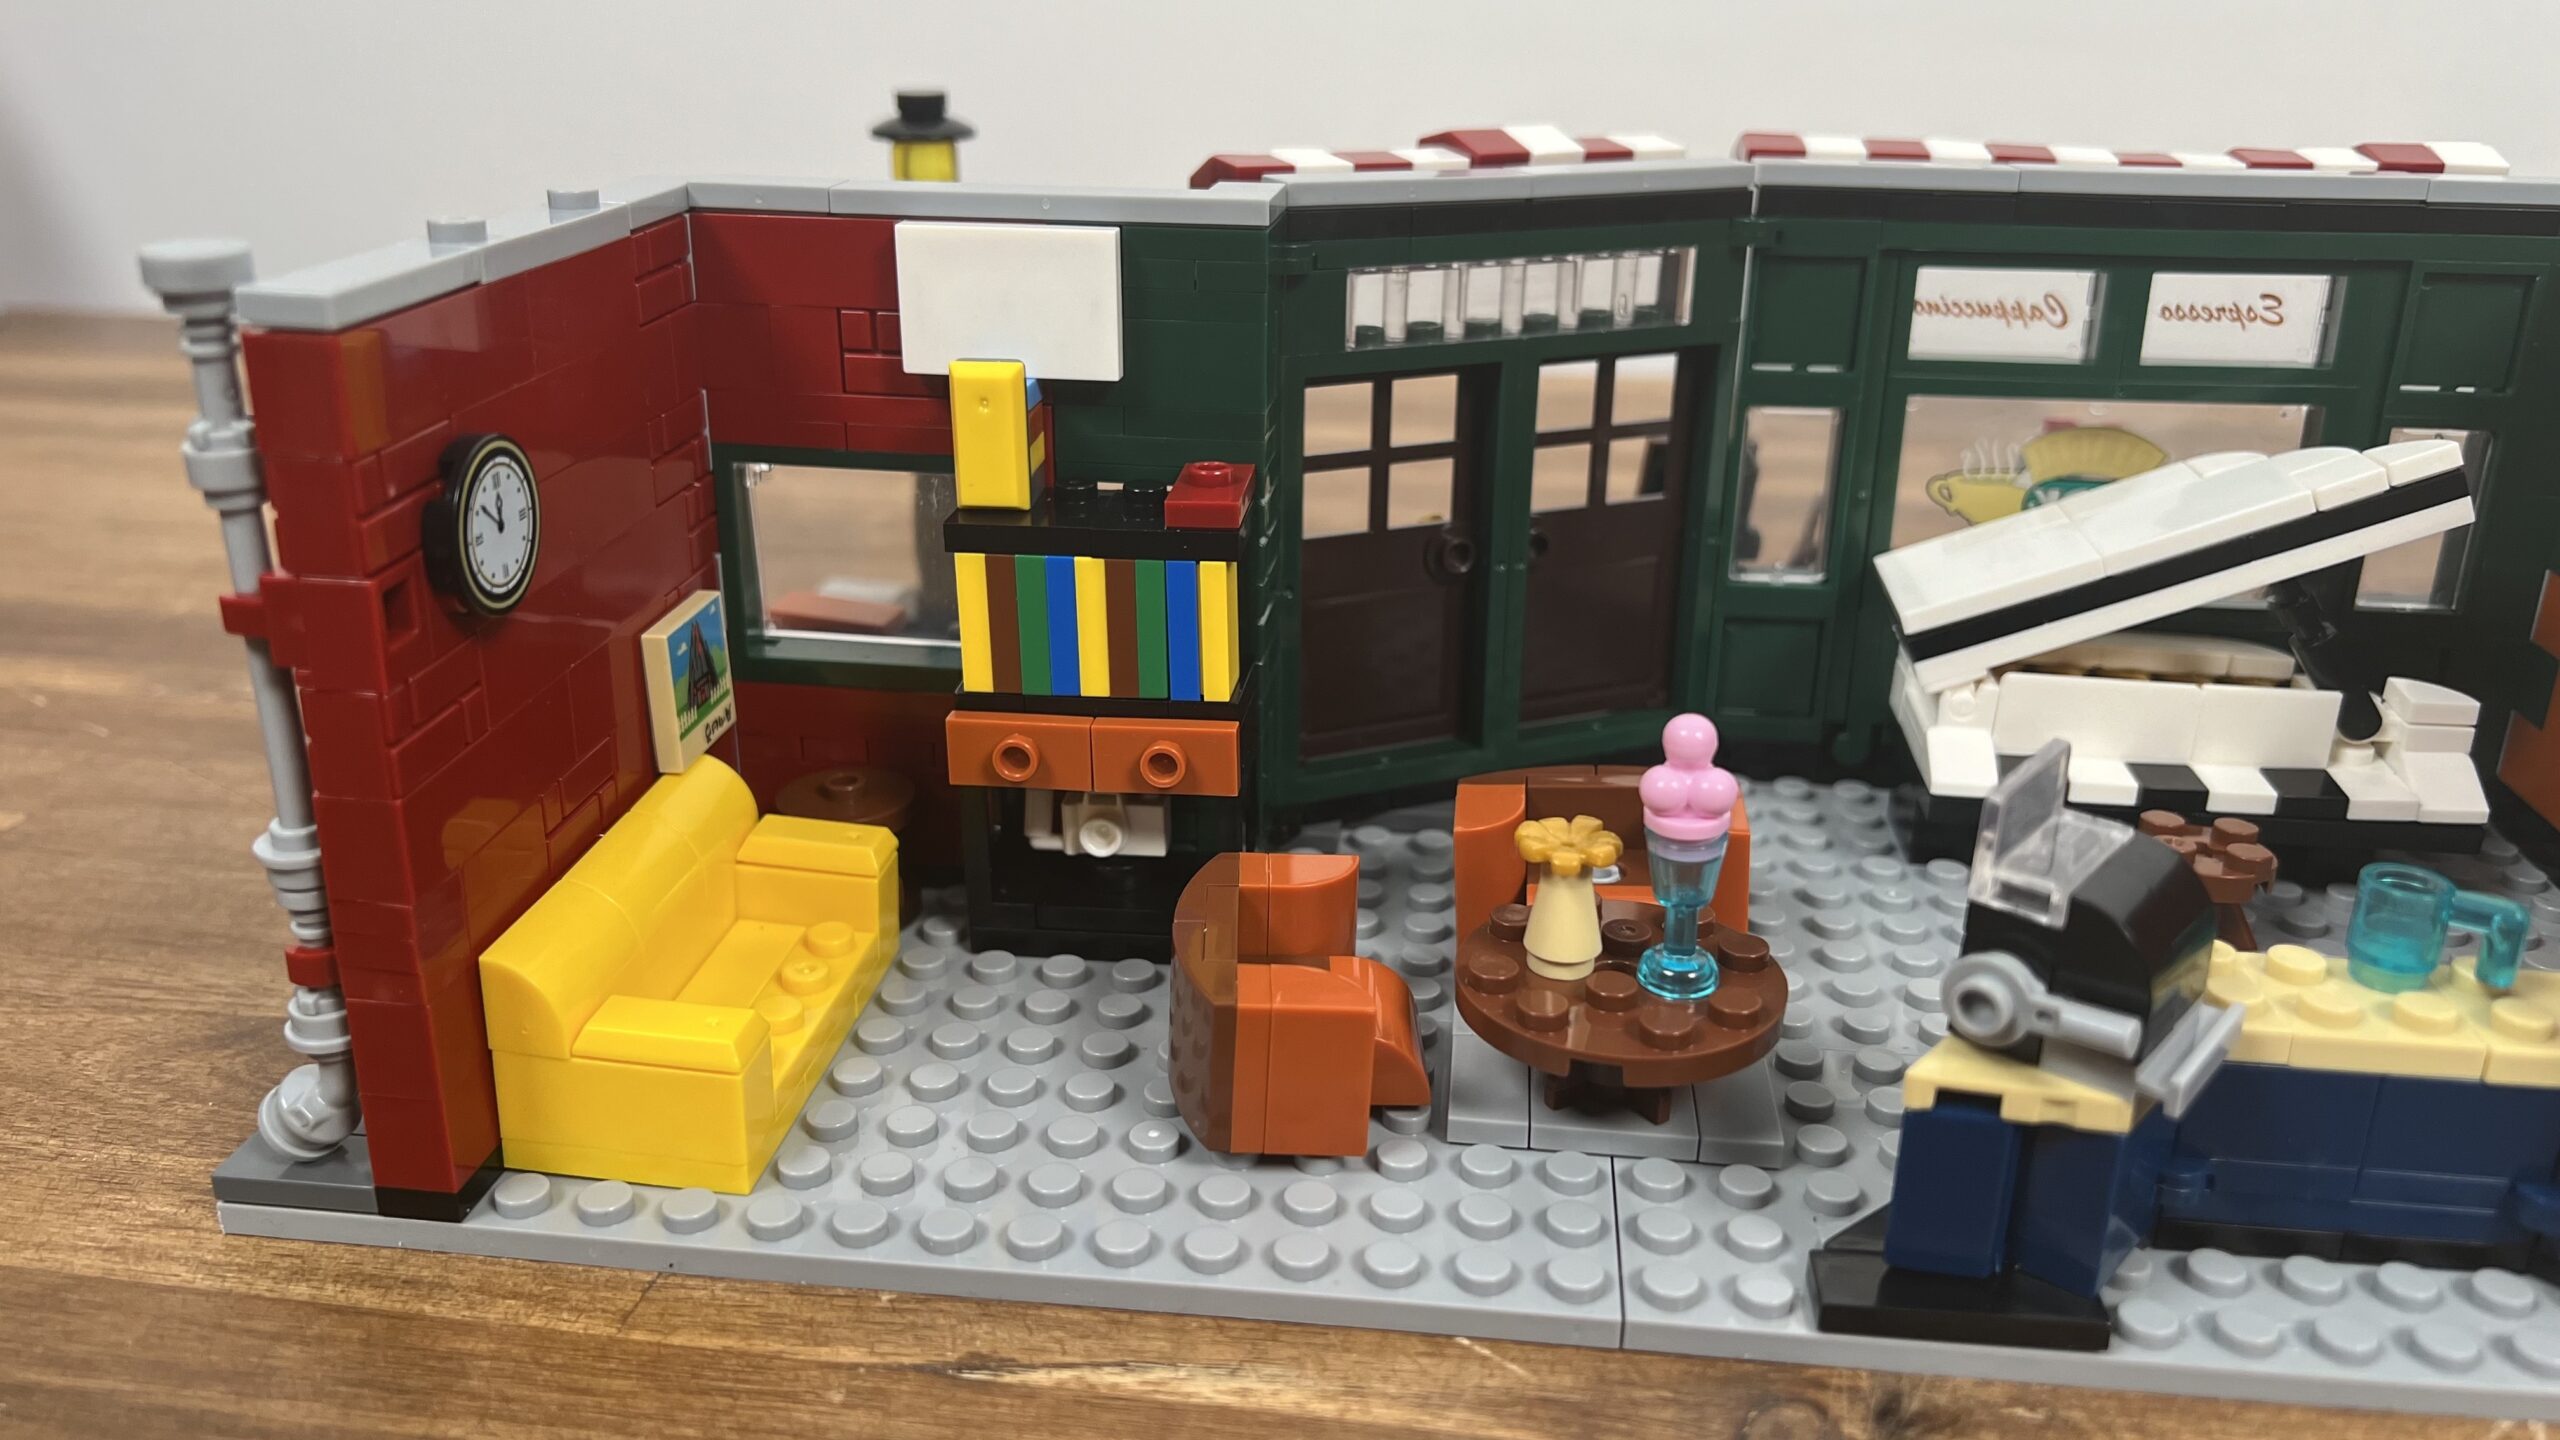
Right next to it is the barista/cash desk area. The counter is nice because it is not built straight classically but has two corners.
The construction was good, but the instructions display it in the wrong color. Instead of blue, they visualize it in dark green. Be careful when building,
A highlight of the ground floor is a beautifully brick-built piano, which can be opened to reveal its inside.
So far, step 2 has been enjoyable and varied. The Xingbao/MORK brick quality is good, but you must press the bricks harder than usual. It’s a shame that the indoor floor isn’t tiled, which makes the whole thing not super stable.
Building Step 3
Step 3 is very similar to Step 1. First, several larger plates are formed into one large one. These are attached to the back with 2×4 plates.
Unfortunately, the design flaw goes on here. It’s not really stable and comes apart quickly. I would have preferred layering here, which would have provided more stability.
The next part of this step was the wall construction, consisting of a mixture of tan, dark orange, red bricks and additional 1×1 gray tiles. I also added matching green windows to the wall. It looks neat.
Also, I created the foundation for a terrace with sliding windows here. It is a very simple design that does not secure the windows optimally. But otherwise, it looks good.
On the side, I extended the pipe system and built a double window with a small roof, which gave the side more life.
Another new addition is a trash bin that found a new home here, hopefully, not with the set later inside. Let’s turn the set again.
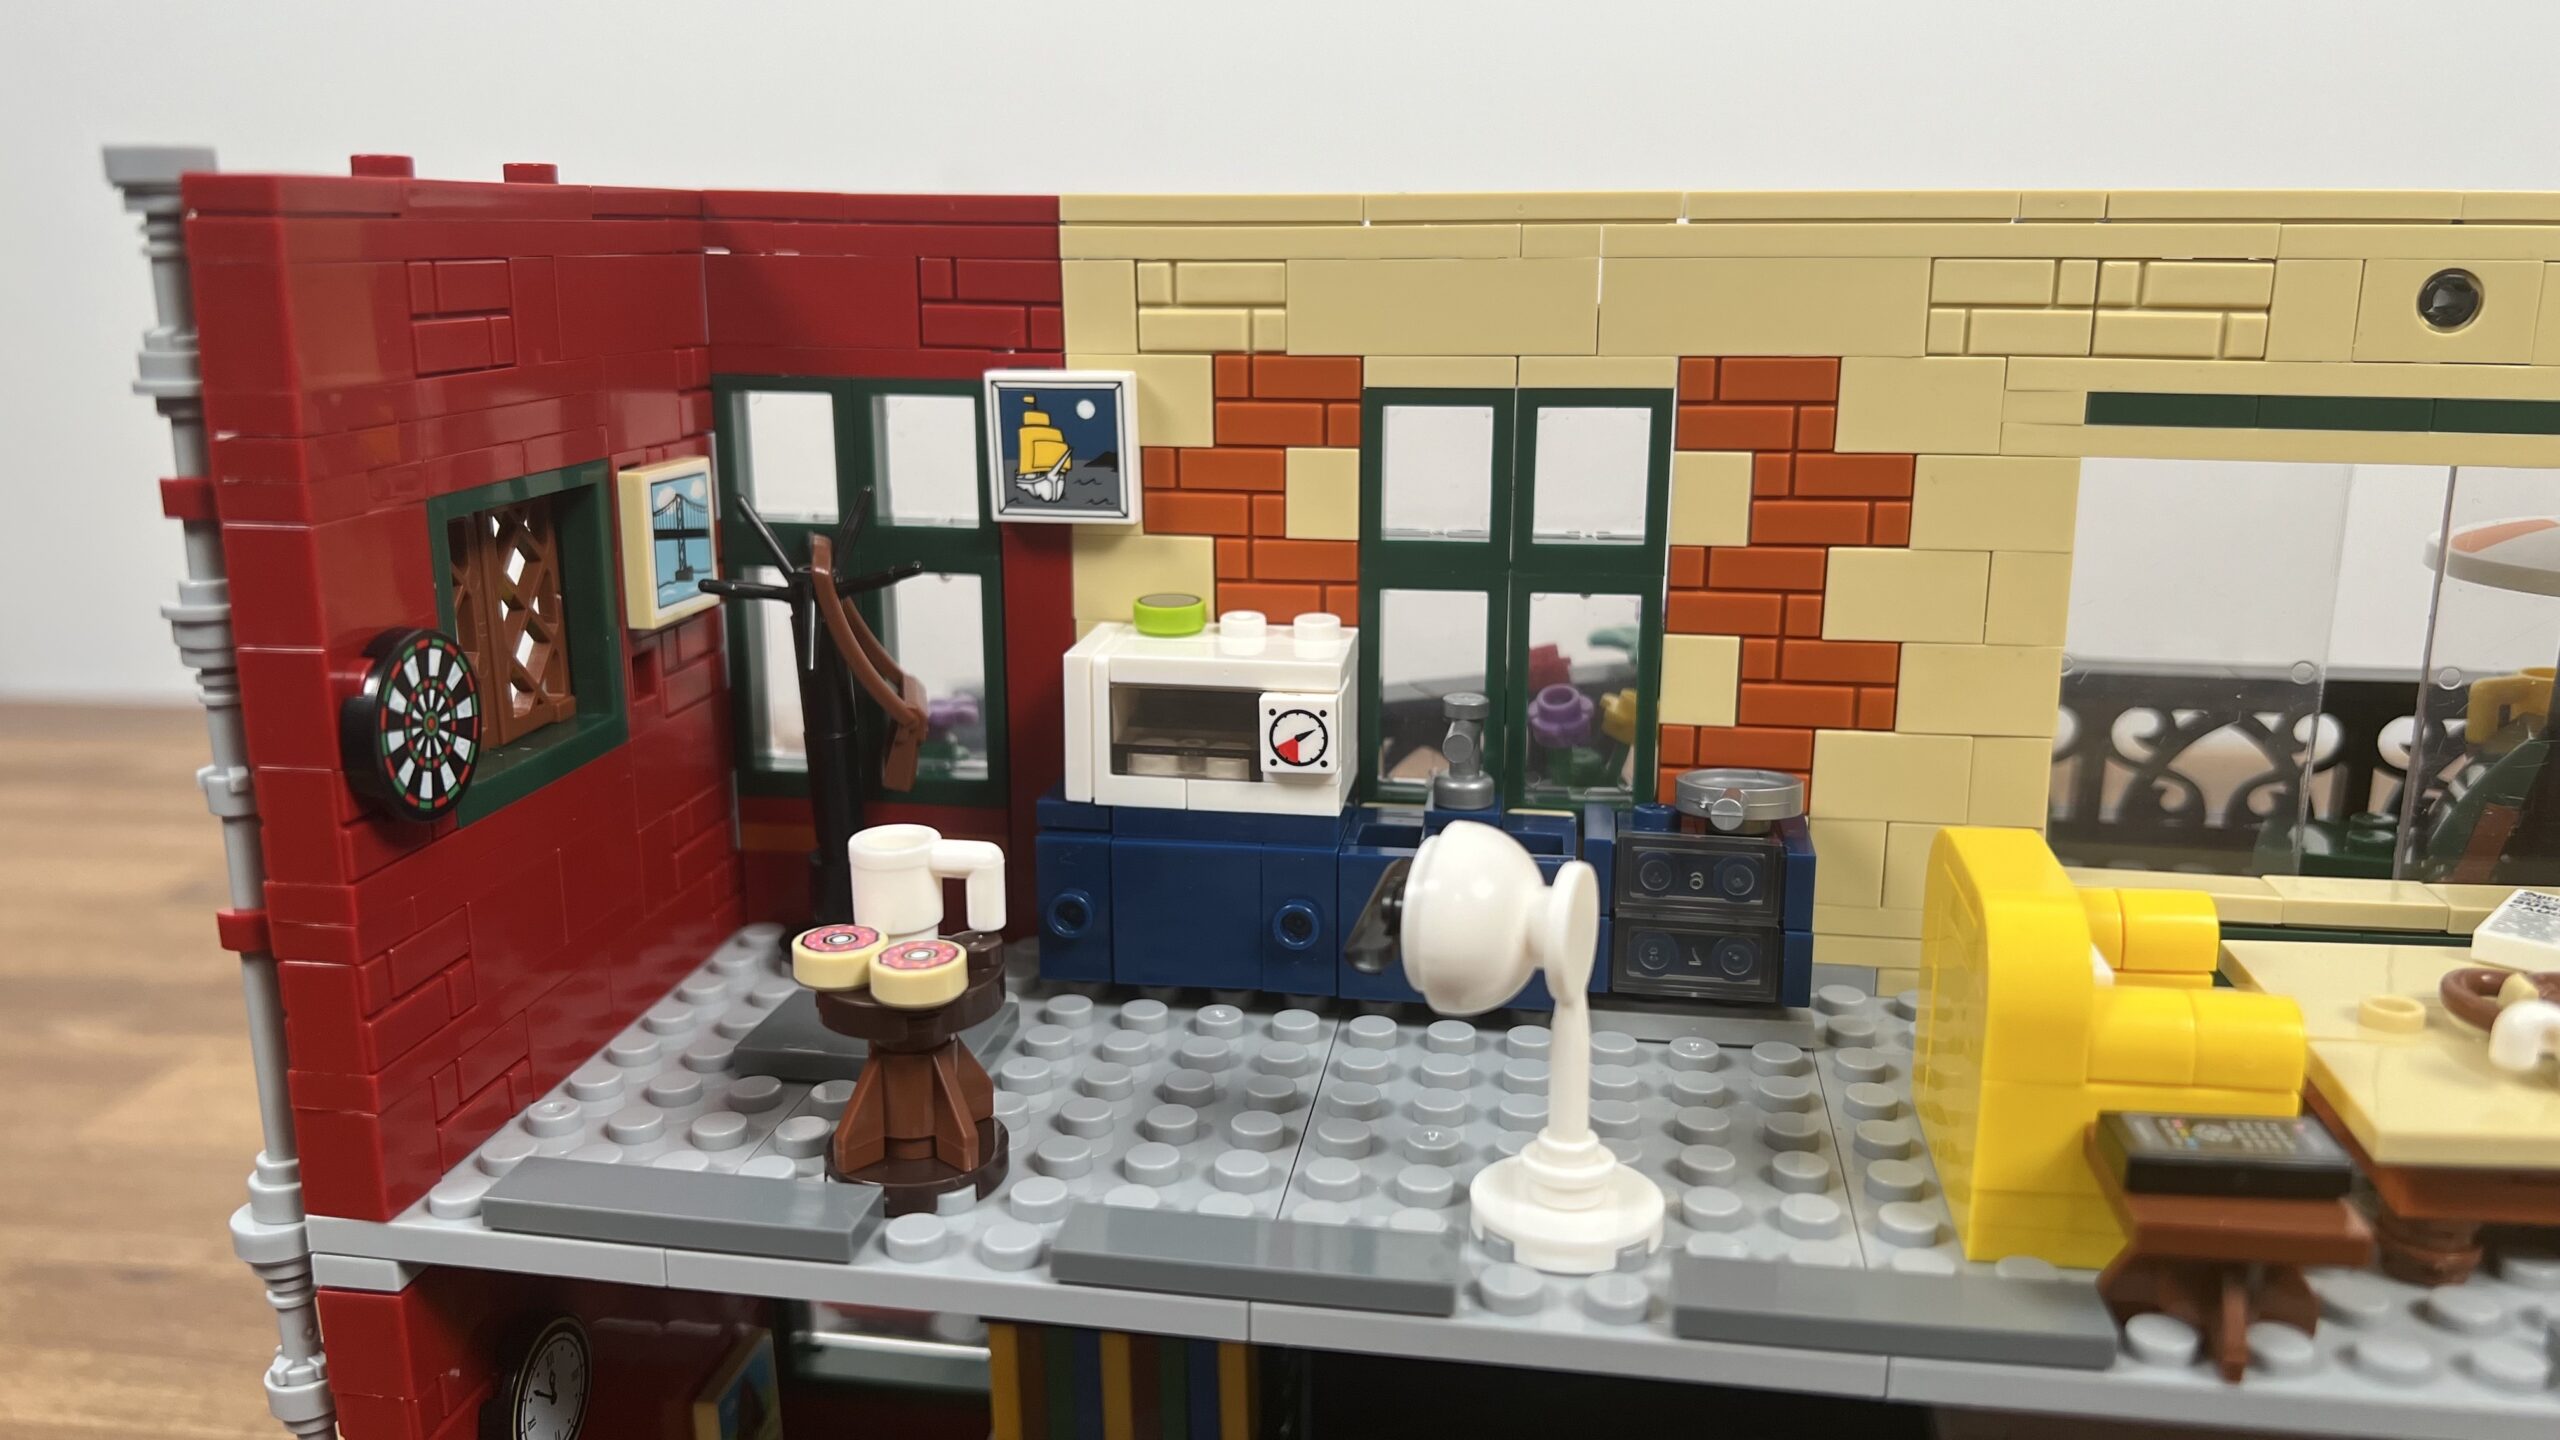
Just like in Step 1, there isn’t much going on here. You can find three prints on the walls: a dartboard and two pictures. I also built the first element of a kitchen. Here, too, the instructions had the same green-blue problem.
In Step 4 comes, then, the interior design of the first floor.
Building Step 4
As a first step, I installed dark blueish-gray tiles to stabilize the whole thing. This makes the building less wobbly, and the right red area no longer collapses.

Two areas have been expanded in this section. The terrace now has a lovely black railing with plants, and I added a lounger and a parasol. There are also some flowers on the right window.
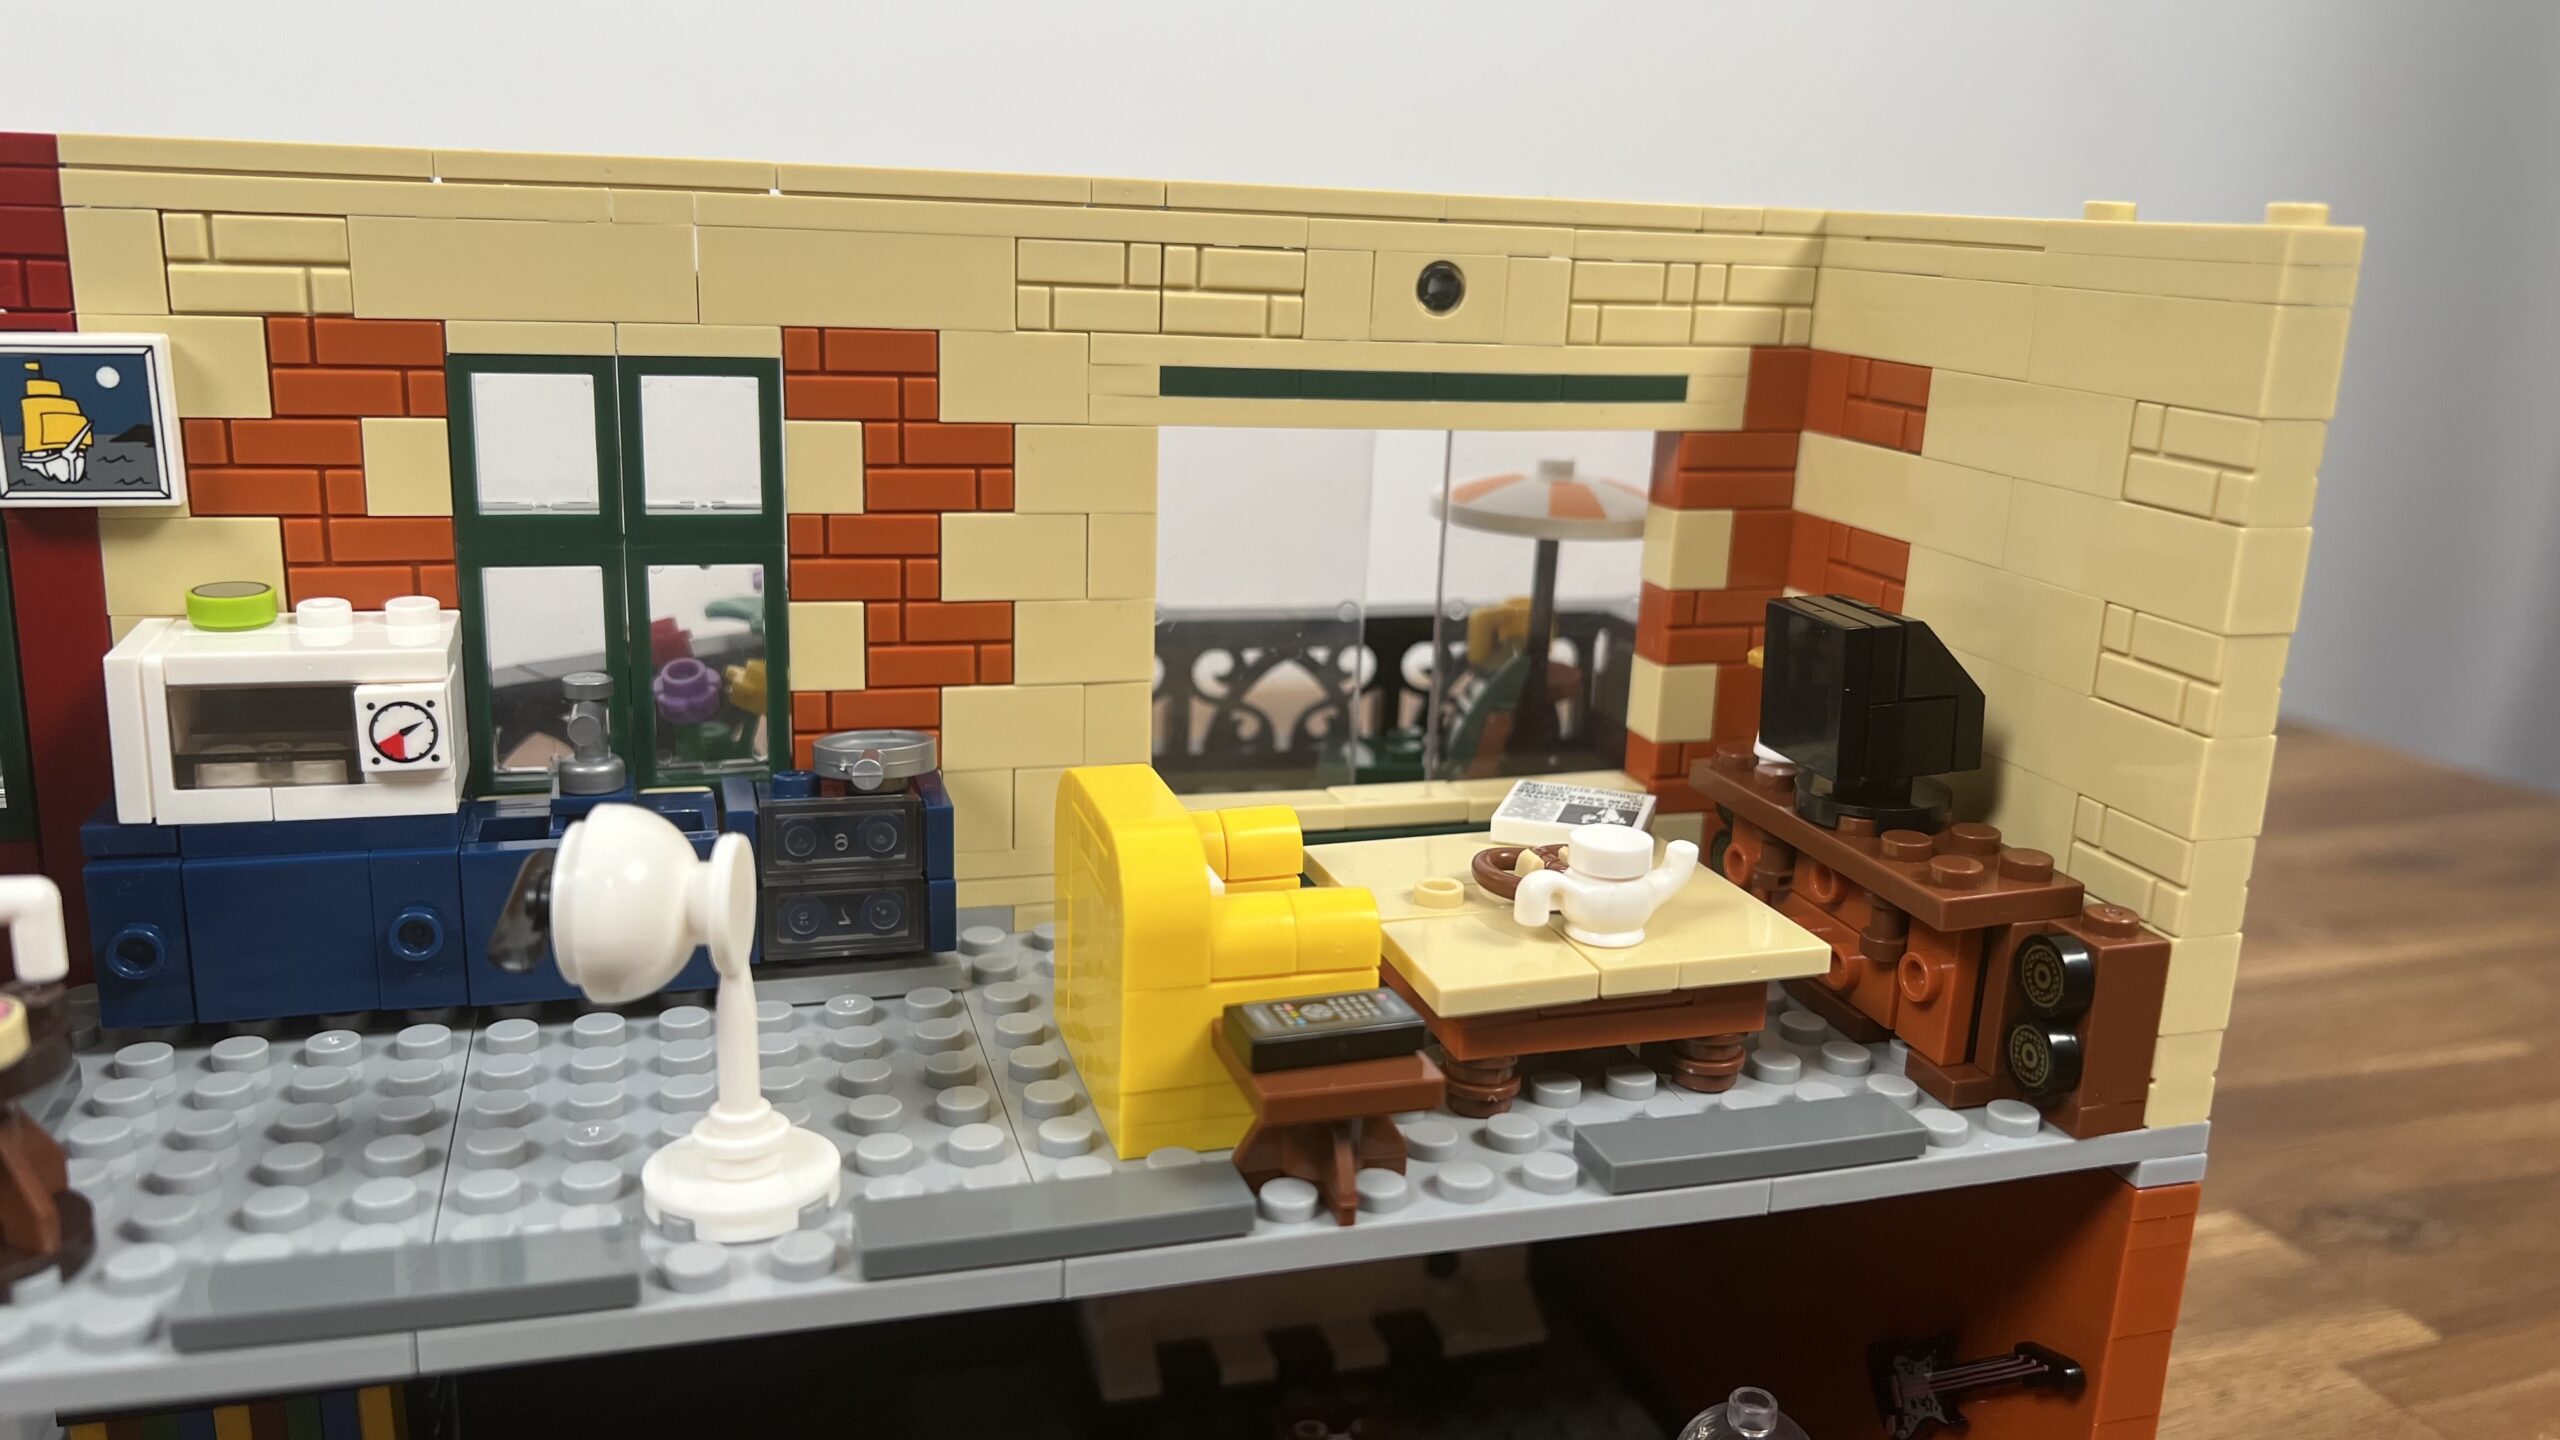
A lot has happened inside. You can see a new clothes rack with a hanging bag on the left side. The kitchen has also been updated with a microwave and stove. In front of it is a fan with a small table, I think.
To the right of it is a living room with a yellow brick-built sofa, a table, and a TV with printed sound boxes.
It’s also worth looking at the table. It has a printed newspaper plate with a design from one of the LEGO Simpsons set as a little surprise.
Step 4 was fun and versatile with lots of little extra. The only thing that wasn’t great was the lack of support on the plate-based floor. Add some plates, and it works.
Building Step 5
The second-to-last step is to build the roof and its decorations. This is one of the toughest because you are repeatedly building the same elements (red bricks on a dark blue-ish gray plate modified).
The brick’s clutch is still great. Everything is holding fine. However, the roof has the same construction issue as the other floors.

The roof features a small extra building. However, it does not lead to the lower floor. You can observe the same with floors 1 and 2. In addition, I added a good number of yellow 1×1 plates and some other plate-modified pieces.

A somewhat repetitive and “boring” construction step compared to the others.
Building Step 6 – The Final Step
Drum roll! We are already at the final sixth of the INSOON 20117 brick set. The roof is set up and here we dive into the film world.
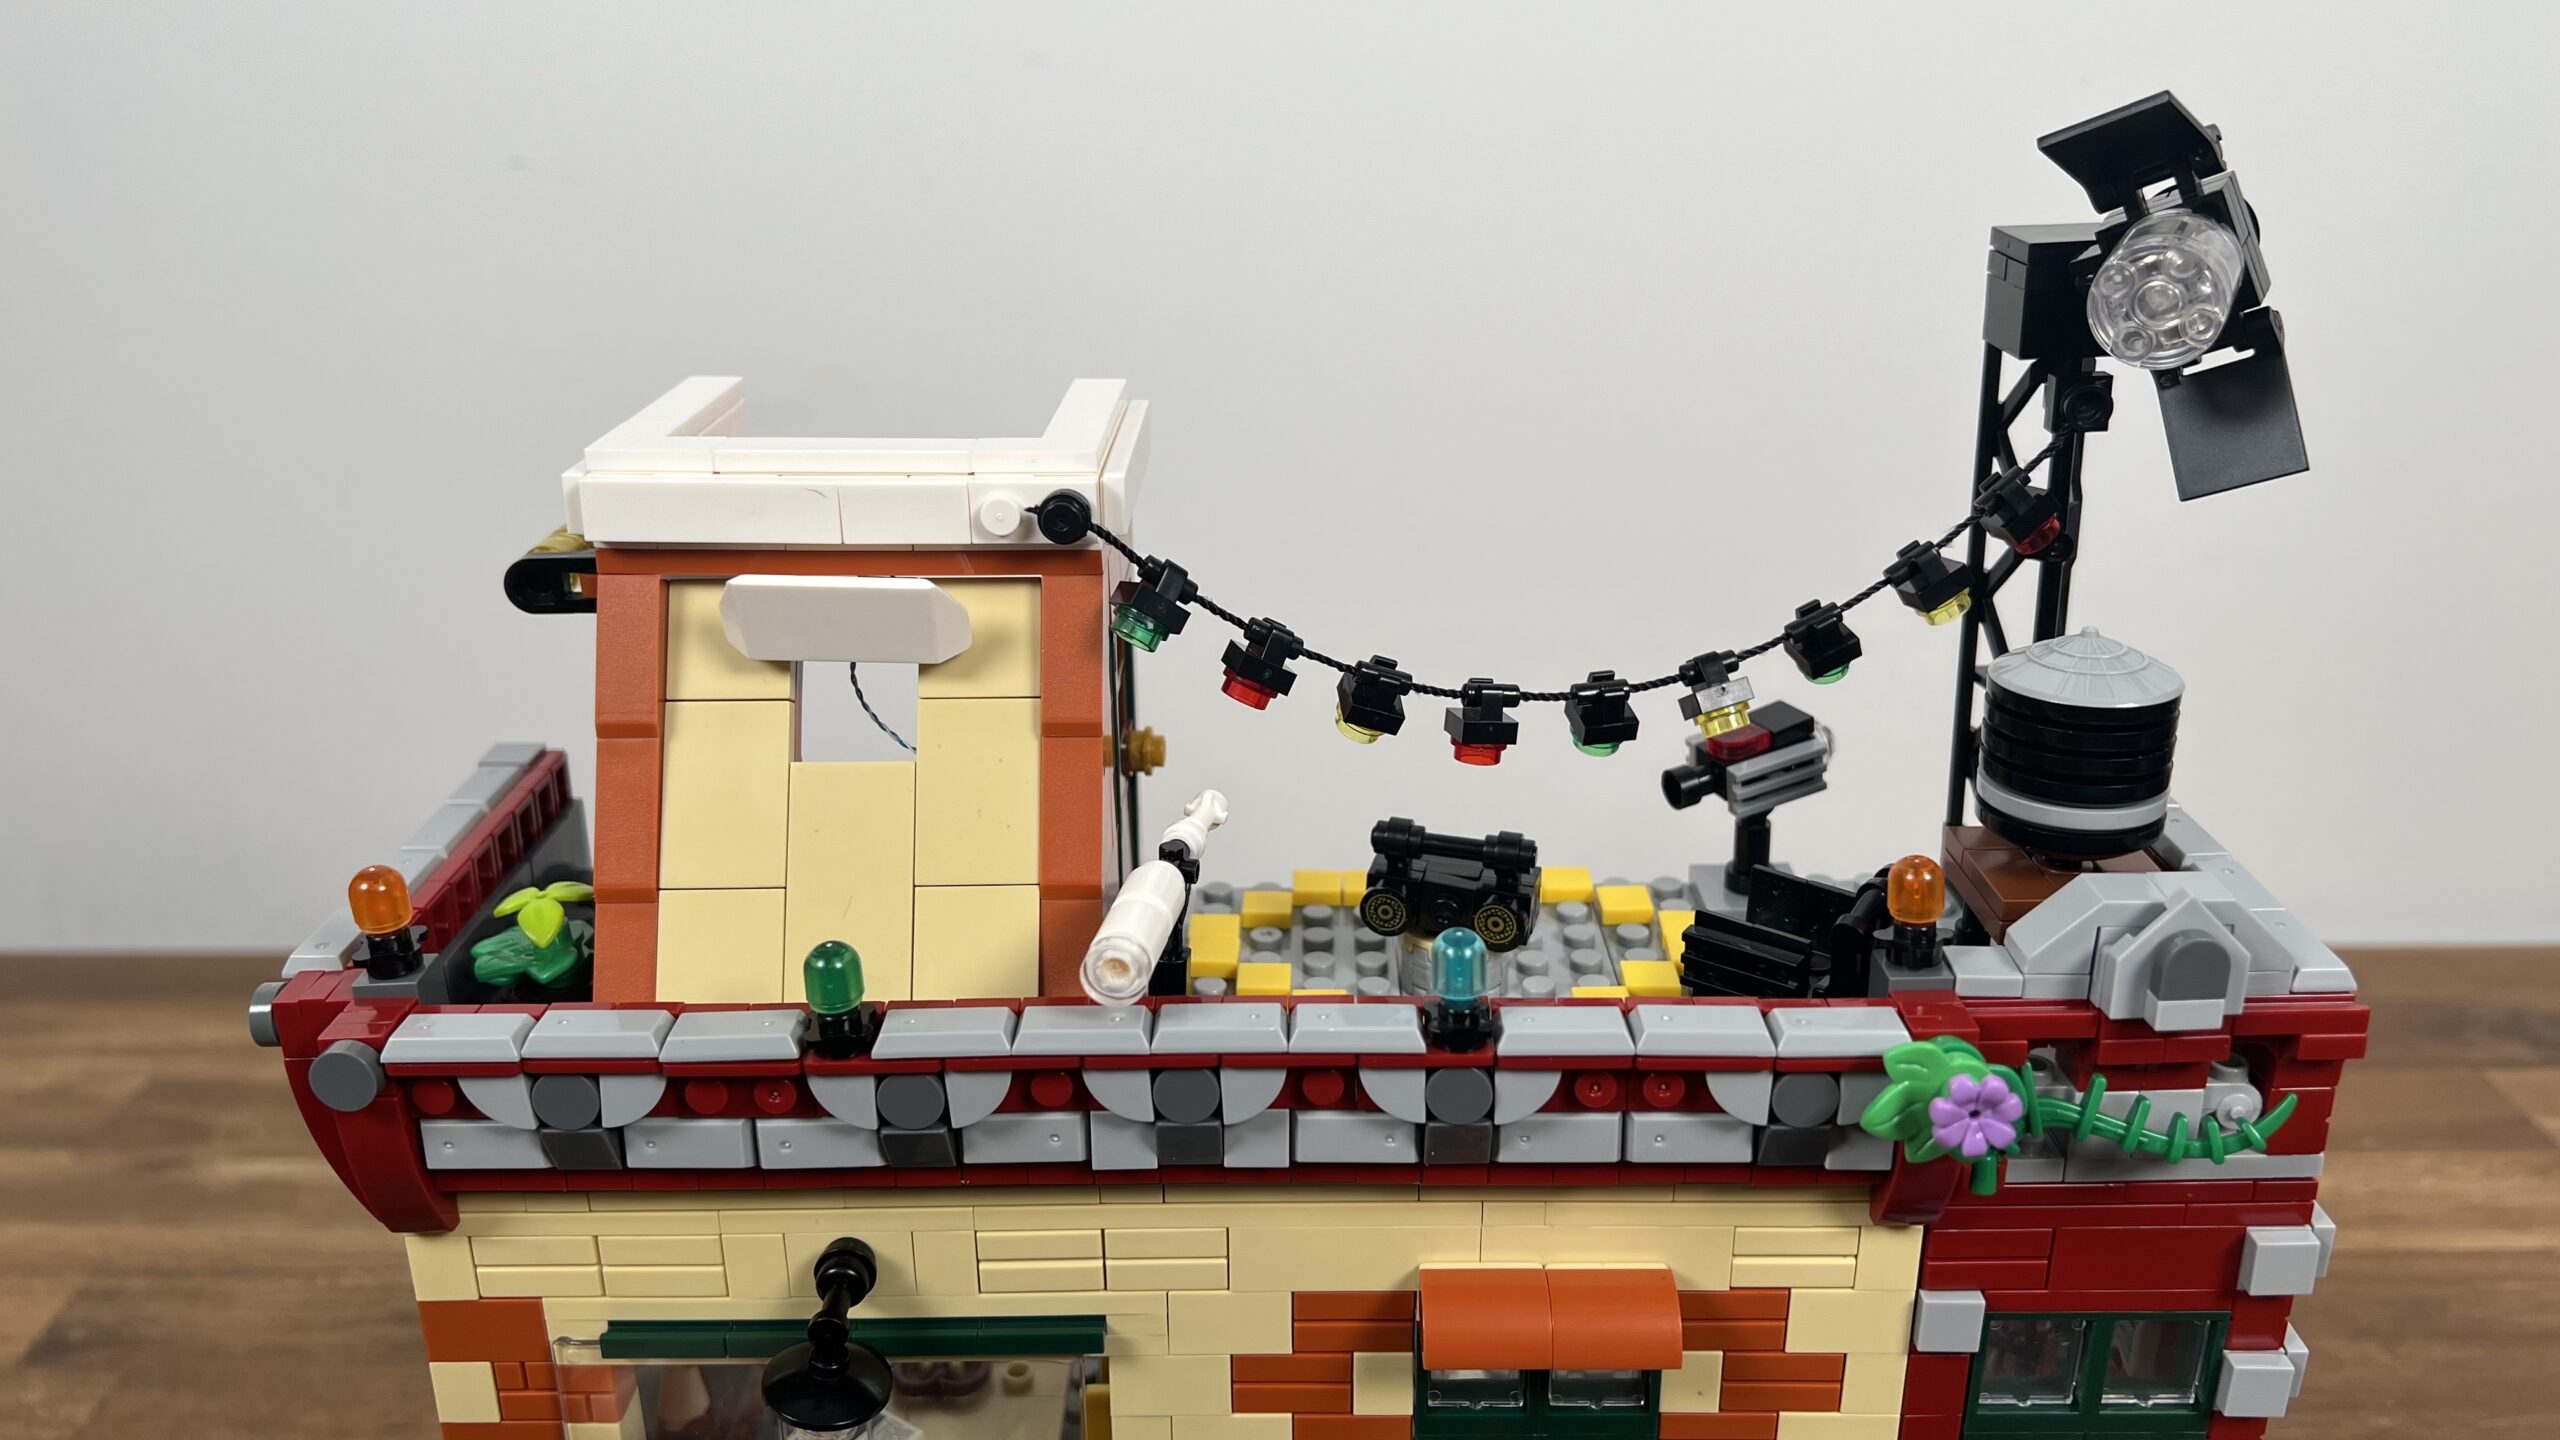
In the middle, a film set was set up with a director’s chair, camera, and more. There is also a telescope with which you can look into the distance or at your neighbor’s sleeping room.
I also built a kind of water boiler on the right side. Further, a large spotlight dominates the entire roof, joined by a colorful garland.
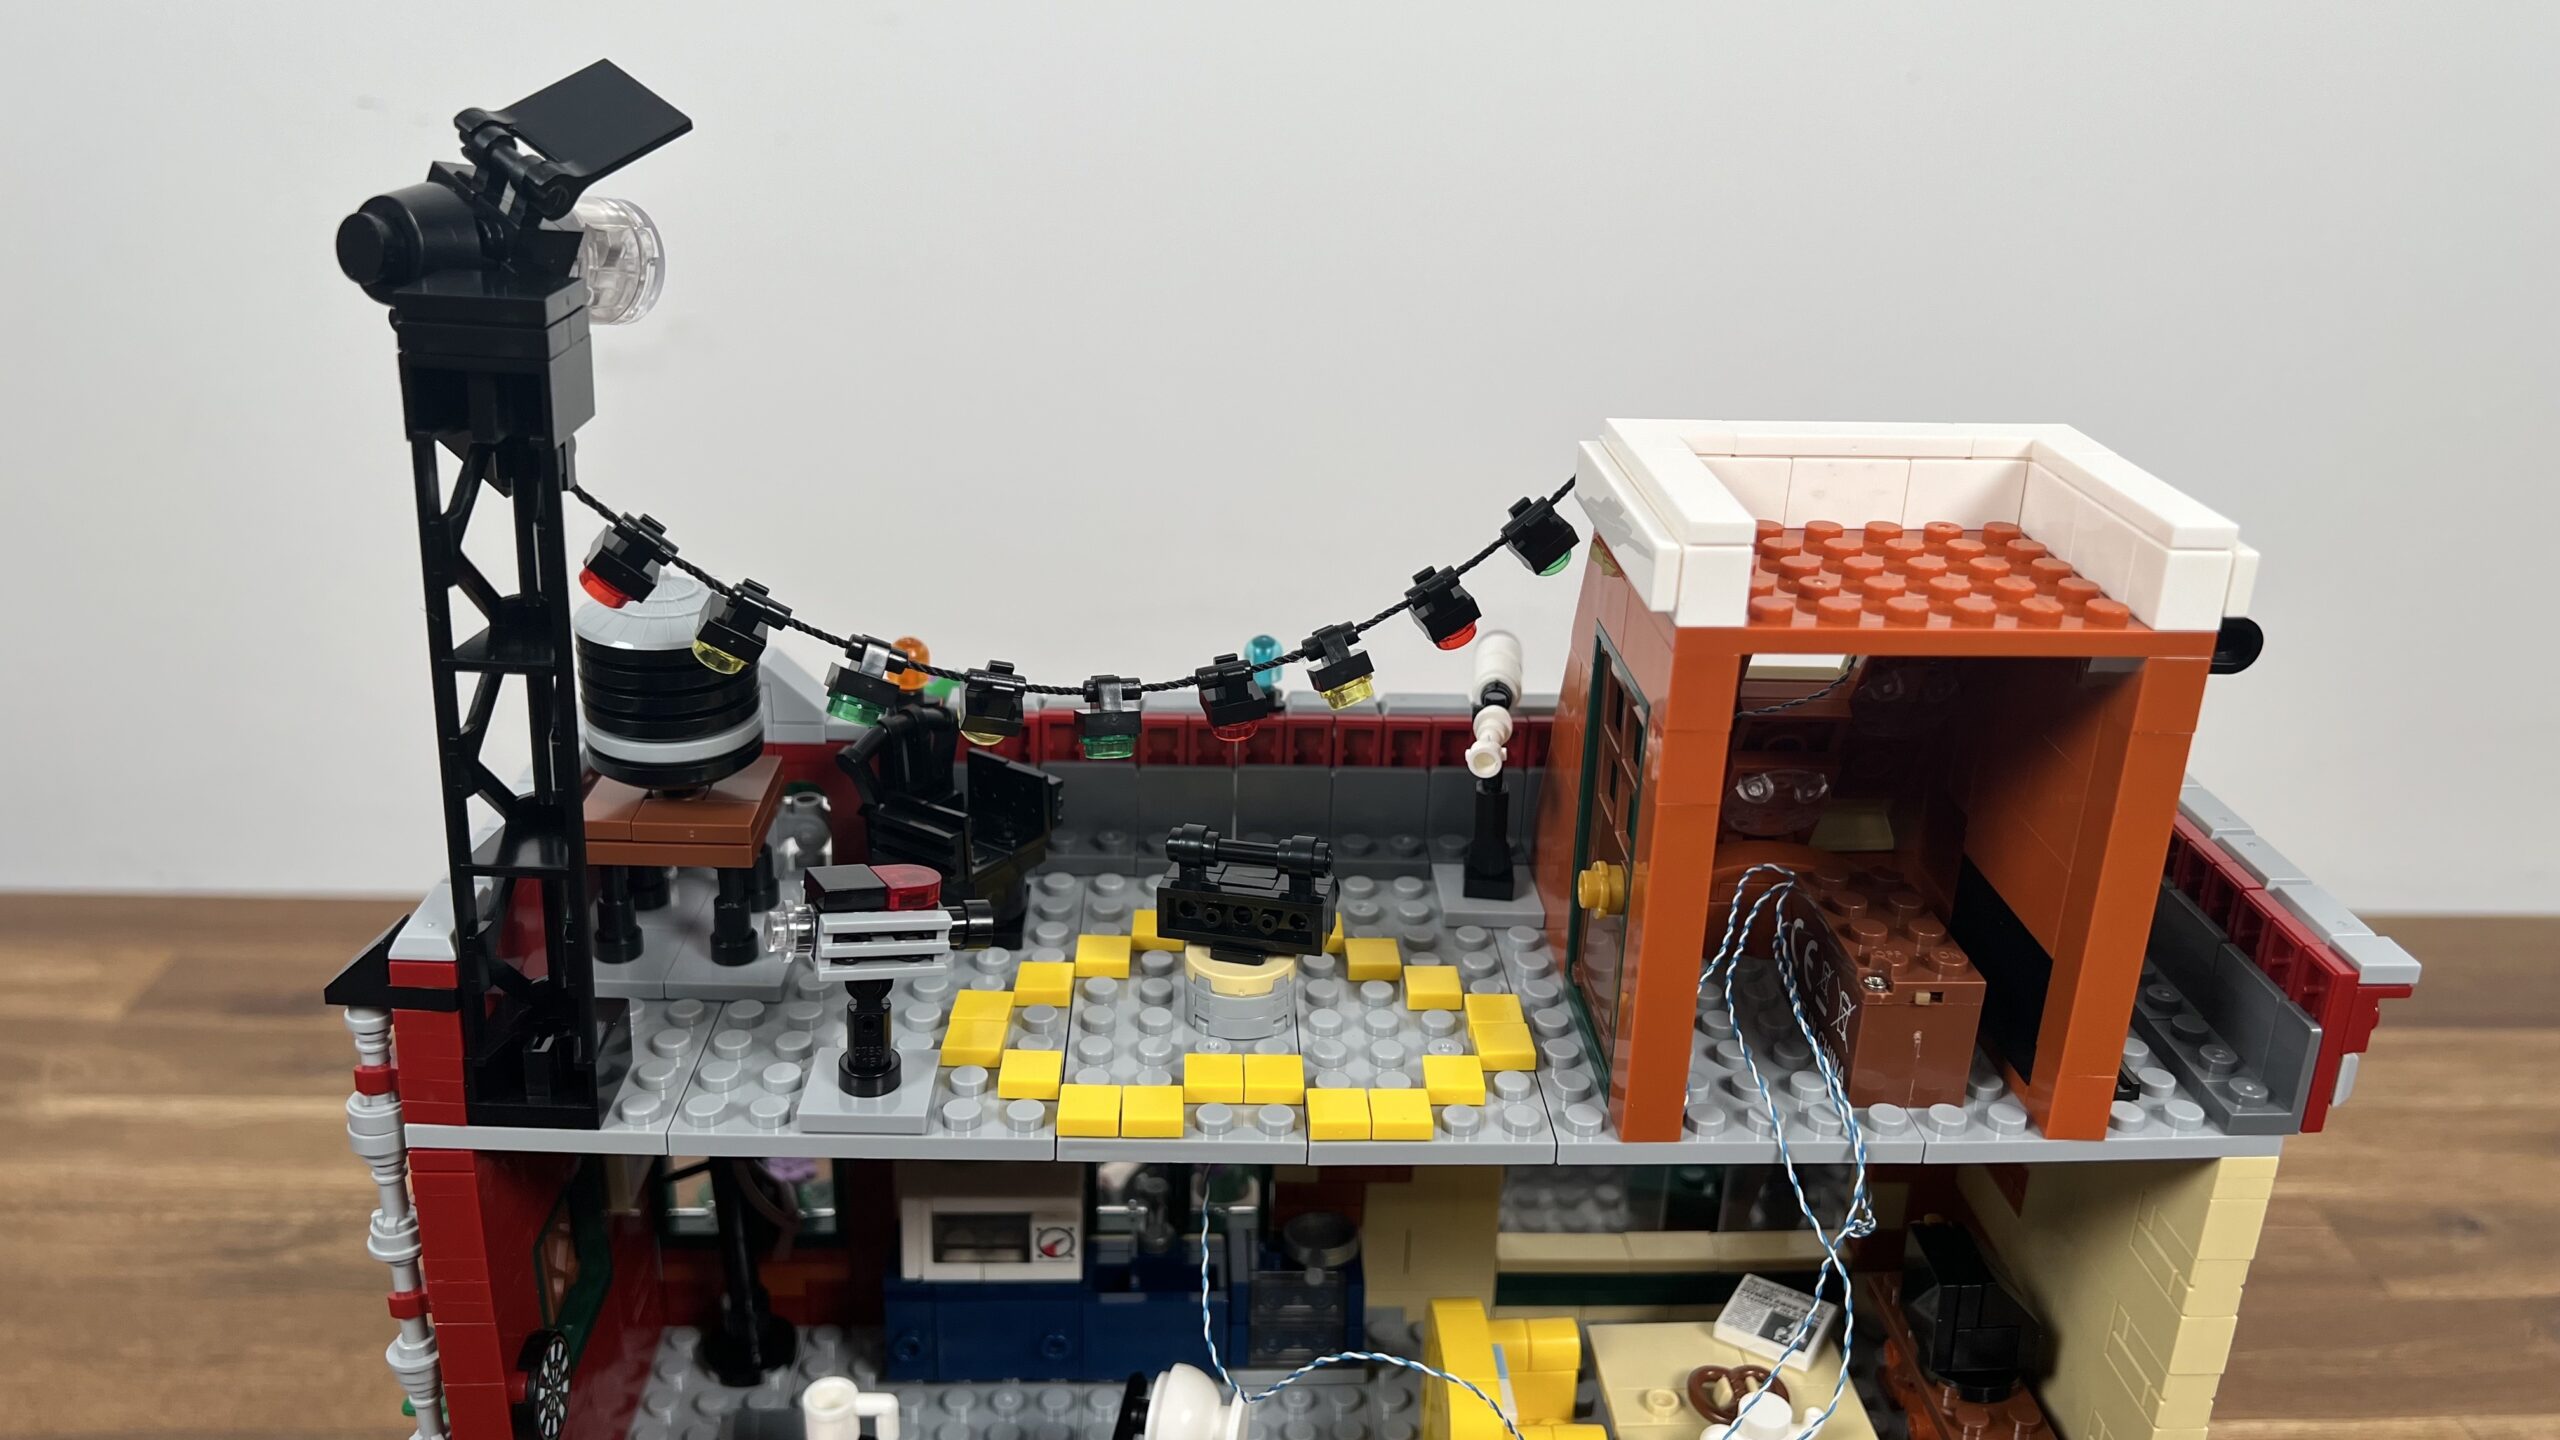
The final part of this step is installing the LEDs. These consist of a battery box with permanently installed cables and bricks. There are also two independent LED bricks for the street lamp and the spot on the roof.
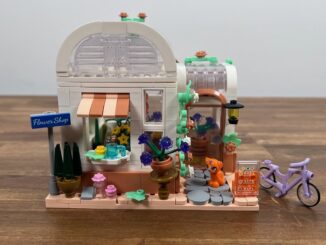
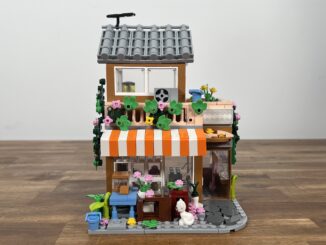
The installation was easy. However, its lay-in is not comparable to that of the LED kits from Funwhole, for example. But it’s nice that there are some for the price. So our coffee house is finished. Here are some photos of the set. With and without LEDs
Pictures


With LEDs


INSOON 20117 Review Conclusion
In summary, the INSOON 20117 is a lovely set with lots of little details. The design is not entirely original, as it is based heavily on the numerous Friends Central Perk MOCs, but I had no problem with that.
The brick quality (Xingbao) was good but not top-notch. You had to apply more pressure to the classic stones, in particular, to keep them in place. But I don’t see that as critical.
I was very pleased by the large number of included prints and the LED lighting kit—a very welcome add-on. It’s a bit of a shame that all three floors had the same construction problem. A tiled or double-layered design would have fixed it. They saved money in the wrong place here.
Pro
- solid brick quality, even if you have to press harder
- box
- excellent brick amount/price ratio
- including LEDs
- instruction
- pad prints
Neutral
- design (not original but inspired by the Central Perk MOCs)
Contra
- some stickers
- plate construction of the levels makes it shaky
German Review
INSOON 20117 Coffe House is available now for around 40€ (depending on the current discounts or coupons).
More information here: Amazon (partner link)